How to Take Sous Vide Meat to Camping: Top 5 Secrets
How to take sous vide meat to camping and enjoy tender, juicy meals outdoors. Learn the secrets now for a delicious, stress-free adventure!
How to take sous vide meat to camping is a question I often get asked. I’ve learned that properly prepared sous vide meat—cooked in a water bath with a vacuum seal—keeps the meat tender and flavorful, making it perfect for camping meals. Some people say “souz vided meat,” but that’s just a casual mix-up; the correct term is sous vide meat.
Sous vide meat is a fantastic option for camping, offering convenience, flavor, and perfectly cooked results. If you’re planning a camping trip and want to enjoy tender, juicy meat without the hassle of cooking from scratch, sous vide is the way to go. In this guide, I’ll share how to prepare, pack, store, and reheat sous vide meat while camping, ensuring a hassle-free and delicious outdoor meal.
Contents Include
- 1 Understanding Sous Vide Meat
- 2 Best Ways to Take Sous Vide Meat on a Camping Trip
- 3 Essential Equipment
- 4 Final Tips for Taking Sous Vide Meat to Camping
- 5 FAQs about Sous Vide Meat
- 5.1 Can I cook sous vide meat at the campsite?
- 5.2 Can I sous vide meat without a vacuum sealer for camping trips?
- 5.3 What’s the minimum sous vide cooking time for thicker cuts like brisket or pork shoulder?
- 5.4 Are ziplock bags safe for sous vide if I don’t own a vacuum sealer?
- 5.5 Can I freeze sous vide meat before camping to extend its shelf life?
- 5.6 How long will sous vide meat stay fresh in a cooler without ice?
- 5.7 Can I reheat sous vide meat directly in a campfire without a pot?
- 6 Final Thoughts
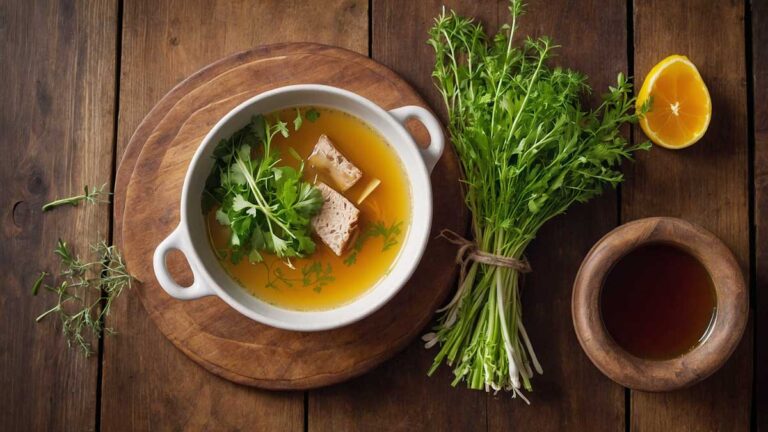
Understanding Sous Vide Meat
Sous vide meat is cooked by sealing the meat in a bag and then placing it in water heated to a precise temperature. This method gently cooks the meat, locking in moisture and flavor. It helps maintain an even texture and tenderness throughout. I find this technique especially useful because it reduces the risk of overcooking. The benefits include improved consistency, enhanced juiciness, and simplified reheating when outdoors. This approach suits camping trips well since you can prepare everything at home and then quickly finish it at the campsite, making meals both delicious and stress-free.
Why Sous Vide Meat is Perfect for Camping
Sous vide cooking involves vacuum-sealing meat and slow-cooking it in a water bath at a precise temperature. This method locks in flavor and ensures the meat is cooked evenly. When camping, sous vide meat offers several advantages:
- Minimal Cleanup: No raw meat juices to handle or excess grease to dispose of.
- Pre-cooked and Ready to Go: No need to deal with raw meat or long cooking times.
- Safe and Easy Storage: Vacuum-sealed packaging keeps meat fresh and prevents contamination.
- Quick and Efficient Reheating: A simple warm-up over a fire or stove restores the meat to perfection.
Best Ways to Take Sous Vide Meat on a Camping Trip
In this section, I will explain the step-by-step process of preparing, packing, and enjoying sous vide meat during your camping trip. This guide includes choosing the right cut, cooking, packing, reheating, serving, and final tips to ensure you have a seamless experience.
Step 1: Choosing the Right Meat for Sous Vide Camping
When selecting meat, quality is key. Choose a quality cut that responds well to the sous vide process. Cuts like ribeye, tenderloin, or even chicken thighs work well because they hold moisture and flavor. Not all meats are ideal for sous vide when camping. Here are the best options:
- Steak (Ribeye, Strip, Tenderloin) – Tender and flavorful.
- Chicken Breast or Thighs – Juicy and easy to reheat.
- Pork Chops or Tenderloin – Holds moisture well.
- Brisket or Short Ribs – Great for slow-cooked flavors.
- Sausages or Hot Dogs – Quick and convenient.
Avoid delicate fish or meat that requires precise finishing techniques unless you have proper equipment.
Step 2: Cooking and Sealing the Meat at Home
Before heading out, prepare your meat properly:
Seasoning the Meat
Start with a light seasoning of salt, pepper, garlic, and herbs. The seasoning should enhance the natural flavors without overpowering them. I keep the spices simple to avoid complications during reheating.
Vacuum-Sealing the Meat
Use a reliable vacuum sealer or the water displacement method with a zip-lock bag. Make sure the meat is tightly sealed to prevent any air from getting in. After cooking sous vide at the recommended temperature and time, quickly cool the meat in an ice bath for about 30 minutes. This ensures the meat remains safe for later consumption and preserves its flavor and texture.
Sous Vide Cooking Times & Temperatures
| Meat Type | Temperature | Time |
|---|---|---|
| Steak | 130°F (54°C) | 1-2 hours |
| Chicken Breast | 145°F (63°C) | 1.5-2 hours |
| Pork Tenderloin | 140°F (60°C) | 1.5-2 hours |
| Brisket | 155°F (68°C) | 24-36 hours |
| Sausages | 140°F (60°C) | 45 min – 1 hour |
Once cooked, quickly chill the meat in an ice bath for 30 minutes before storing it in a cooler or freezer.
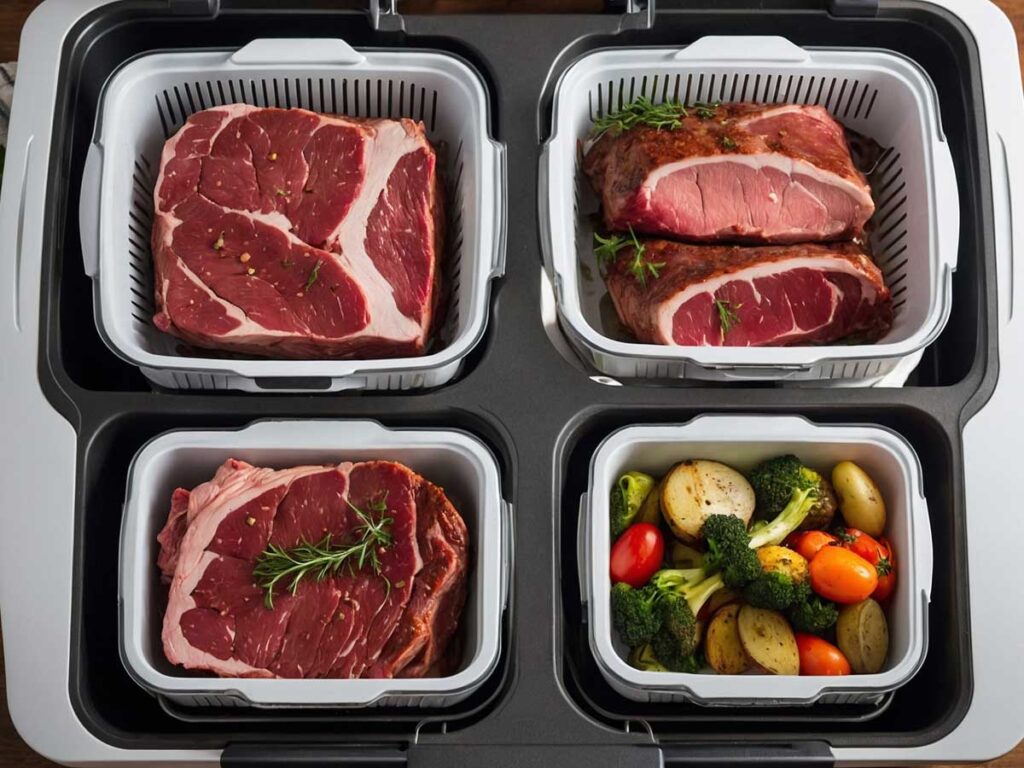
Step 3: Packing and Storing Sous Vide Meat for Camping
Proper packing and storage are essential:
- High-Quality Cooler: Use a well-insulated cooler to maintain low temperatures. I recommend a cooler that can keep ice for extended periods.
- Pre-Freeze the Meat: Freezing the meat before packing prolongs its freshness. Pack it with sufficient ice packs or dry ice.
- Labeling: Clearly label each bag with the type of meat and the cooking date. This makes it easier to manage different items in your cooler.
- Efficient Use of Space: Arrange the items in the cooler so that the cold air circulates freely, ensuring even cooling throughout the trip.
Step 4: Reheating Sous Vide Meat at the Campsite
Reheating the meat can be done using a few different methods:
- Hot Water Bath: Heat a pot of water to around 130°F–140°F. Place the vacuum-sealed bag in the water for 5 to 10 minutes. This method warms the meat evenly while retaining its moisture.
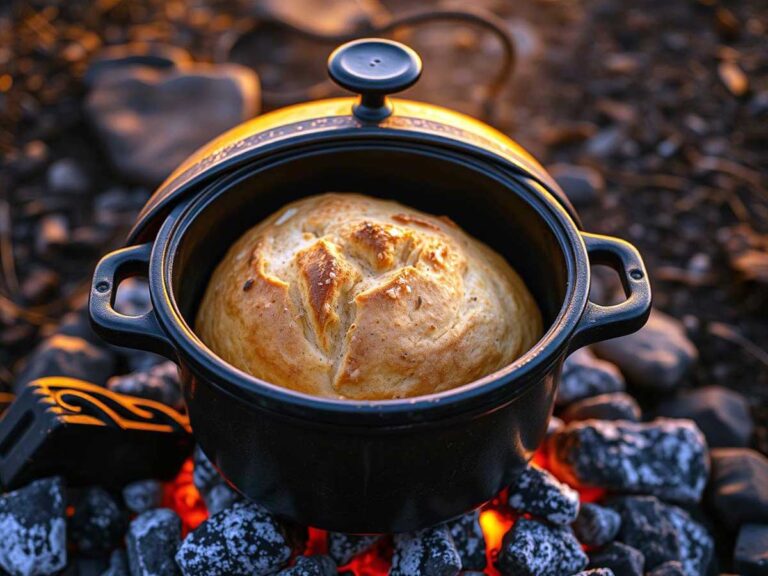
- Campfire or Grill: Remove the meat from its bag and pat it dry. Sear it on a grill or over a campfire for 1–2 minutes on each side. This gives the meat a nice exterior without overcooking the interior.
- Skillet Method: Heat a pan over medium-high heat with a small amount of oil. Sear the meat for about 1–2 minutes per side. Cover the pan with foil to keep the heat in and preserve moisture.
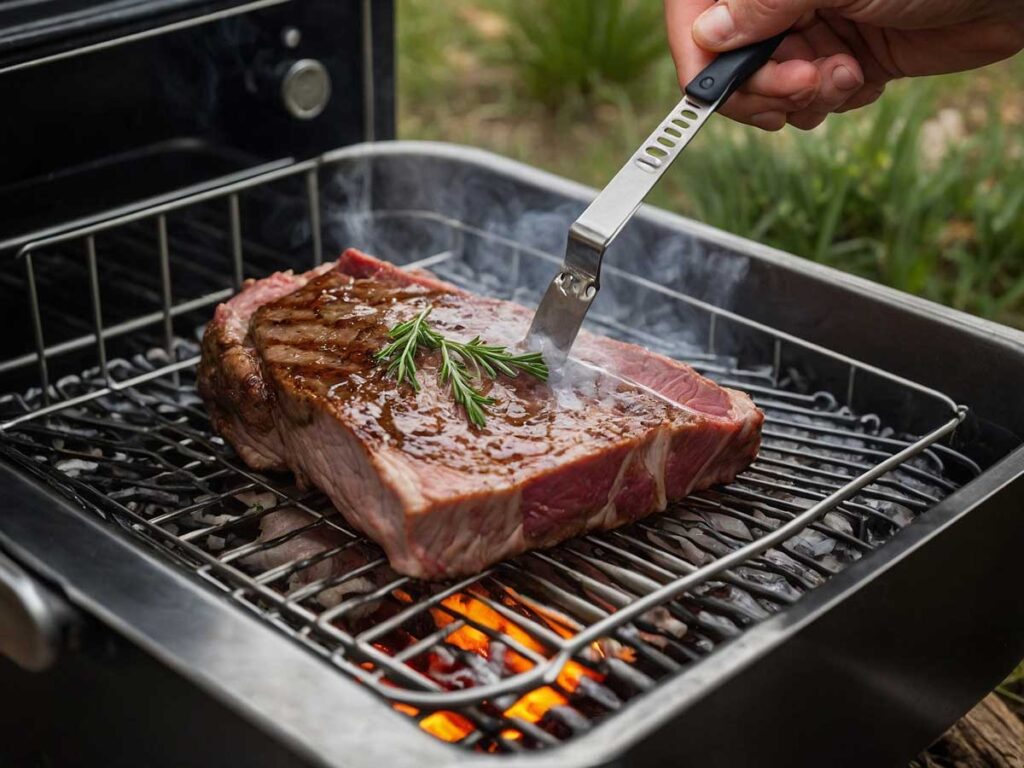
These methods provide flexibility based on the equipment you have available at your campsite and the finish you prefer on your meat.
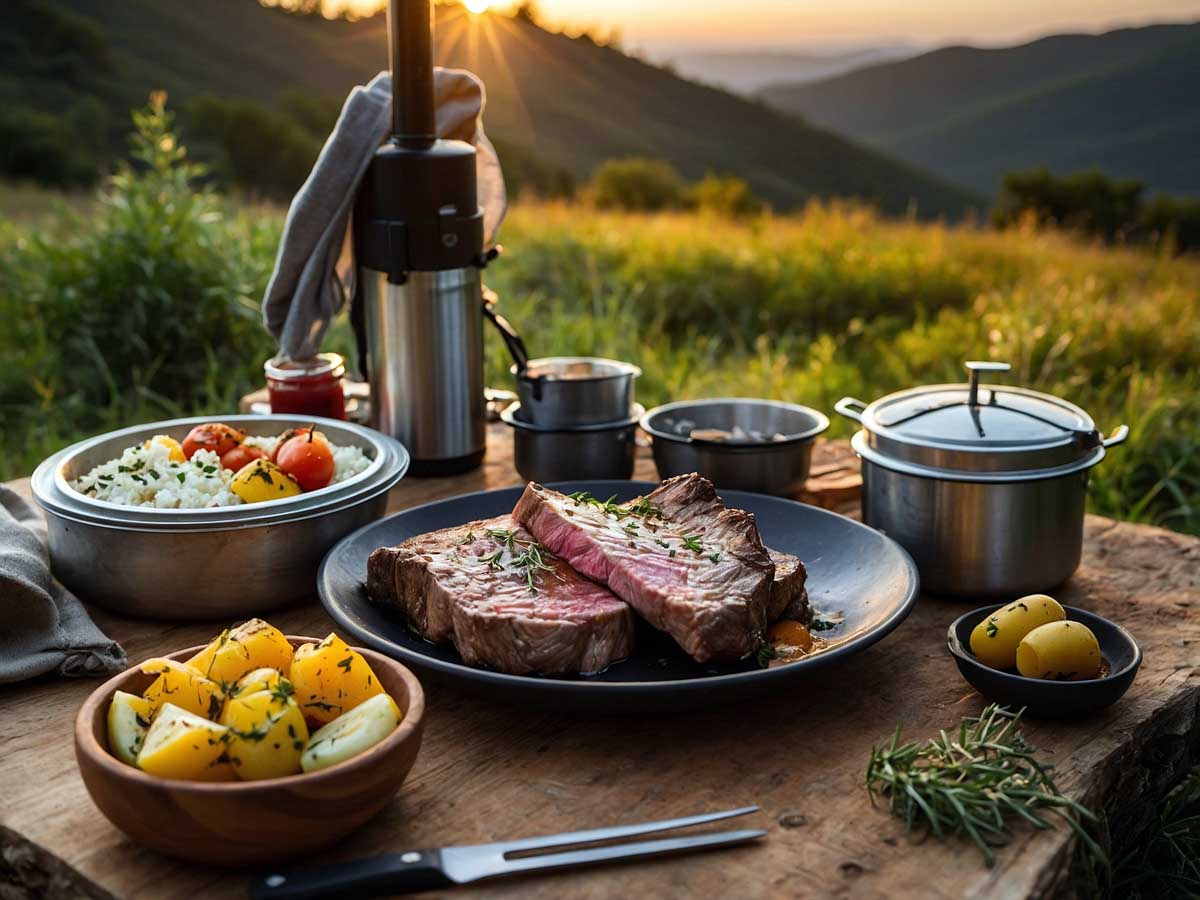
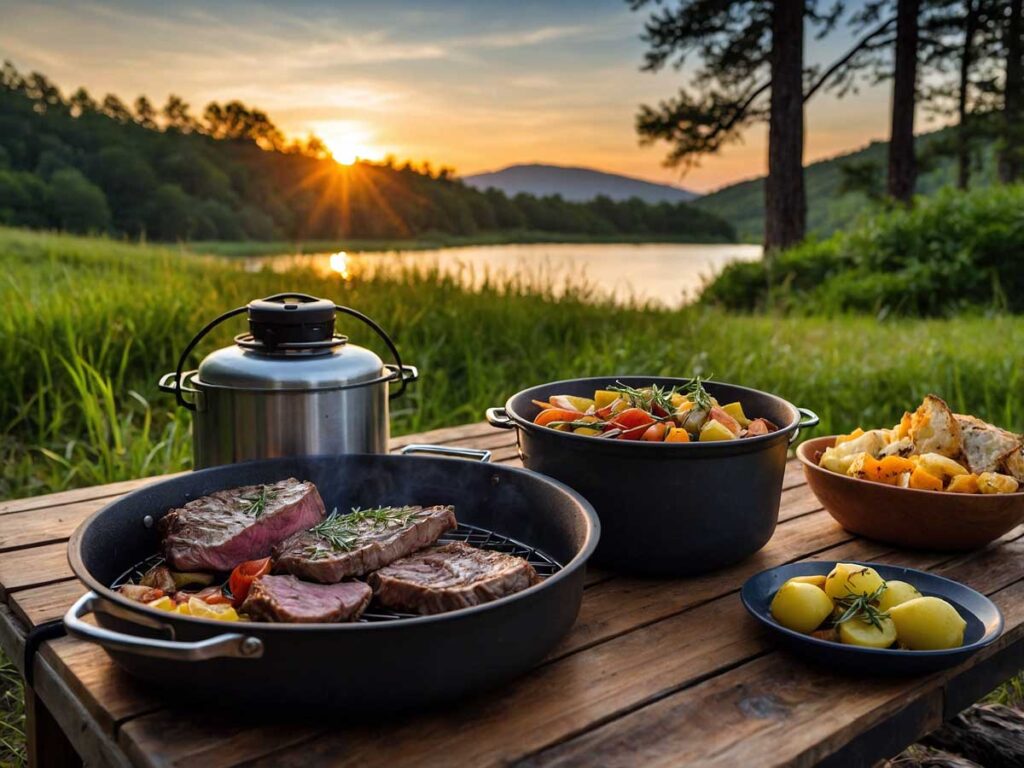
Step 5: Serving and Enjoying Your Sous Vide Meat
After reheating, the next step is to serve the meat:
- Plating: Arrange the meat on a clean plate and consider slicing it against the grain for the best texture.
- Side Dishes: Complement the meat with simple sides like grilled vegetables, roasted potatoes, or a fresh salad. These sides enhance the overall meal without overshadowing the main dish.
- Condiments: Offer a selection of light sauces or condiments that pair well with the meat. A squeeze of lemon or a drizzle of olive oil can add a bright note.
- Eating Outdoors: Enjoy your meal in a relaxed setting, appreciating the flavors and the outdoor environment.
Essential Equipment
Before you set out on your camping trip, having the right equipment is essential. I always prepare a checklist to ensure nothing important is left behind.

- Vacuum Sealer and Bags: I use a vacuum sealer to pack the meat after cooking. This minimizes exposure to air and helps maintain quality.
- Portable Cooler: A high-quality cooler with good insulation is a must. It keeps your souz vided meat at a safe temperature throughout the trip.
- Ice Packs: Ice packs or frozen water bottles provide additional cooling. They help maintain a consistent temperature, especially during longer trips.
- Thermometer: A portable food thermometer is useful for checking the temperature of your stored meat. This ensures that your meat remains in the safe zone.
- Portable Stove or Campfire Cooking Gear: Even though the meat is pre-cooked, you may want to reheat it slightly. A simple portable stove or campfire-safe cookware does the trick.
Each item plays a crucial role in ensuring your meal stays delicious and safe. I always inspect my gear before heading out to avoid surprises at the campsite.
Final Tips for Taking Sous Vide Meat to Camping
Here are a few additional pointers to ensure success:
- Plan Ahead: Prepare your meat a day in advance to avoid last-minute stress.
- Equipment Check: Double-check that your cooler, ice packs, and reheating tools are ready.
- Keep it Sealed: Avoid opening the vacuum-sealed bags until you’re ready to reheat the meat. This helps maintain safety and freshness.
- Monitor Temperatures: Ensure that the meat remains at safe temperatures during storage and reheating.
- Simplify the Process: Stick to simple recipes and minimal seasoning to let the natural flavors shine.
FAQs about Sous Vide Meat
Final Thoughts
Taking sous vide meat camping isn’t just a trend—it’s a practical way to eat well outdoors. With a little prep, you’ll spend less time cooking and more time soaking up the views. I’ve used this method on everything from solo backpacking trips to family camping weekends, and it never disappoints.
By following these steps, you’ll bring gourmet flavors to the great outdoors with minimal effort. Enjoy your camping trip with perfectly cooked sous vide meat and spend more time soaking in nature! Thank you for taking the time to read my guide. May your camping trips be filled with adventure, great food, and lasting memories.