How to Stay Warm in Bushcraft Camping: Guide for All Seasons
Bushcraft camping is one of the most rewarding ways to connect with nature. It’s about relying on your skills,…
Bushcraft camping is one of the most rewarding ways to connect with nature. It’s about relying on your skills, knowledge, and the resources around you to survive and thrive in the wilderness. However, staying warm during bushcraft camping, especially in colder seasons or at night, can be a challenge. As someone who has spent countless nights under the stars, I’ve learned that staying warm isn’t just about having the right gear—it’s about understanding how to use it effectively and working with your environment.
In this article, I’ll share my tried-and-tested tips on how to stay warm during bushcraft camping. Whether you’re a beginner or an experienced camper, these strategies will help you stay comfortable and safe in the outdoors.
Contents Include
- 1 Why Staying Warm is Crucial in Bushcraft Camping
- 2 Step 1: Dress Smart – Layering is Key
- 3 Step 2: Build a Proper Shelter
- 4 Step 3: Learn Fire-Building Techniques
- 5 Step 4: Use a High-Quality Sleeping System
- 6 Step 5: Stay Dry at All Costs
- 7 Step 6: Eat and Stay Hydrated
- 8 Step 7: Use Natural Insulation
- 9 Final Thoughts
Why Staying Warm is Crucial in Bushcraft Camping
Before we dive into the how, let’s talk about the why. Staying warm isn’t just about comfort—it’s about survival. Hypothermia, a condition where your body loses heat faster than it can produce it, can set in quickly if you’re not prepared. Even in mild weather, nighttime temperatures can drop significantly, and being wet or exposed to wind can make things worse.
In bushcraft camping, you often rely on minimal gear and natural resources, so knowing how to stay warm without modern conveniences is essential. Let’s break it down step by step.
Step 1: Dress Smart – Layering is Key
One of the most effective ways to stay warm is by dressing appropriately. Layering your clothing allows you to adjust to changing temperatures and activity levels. Here’s how I do it:
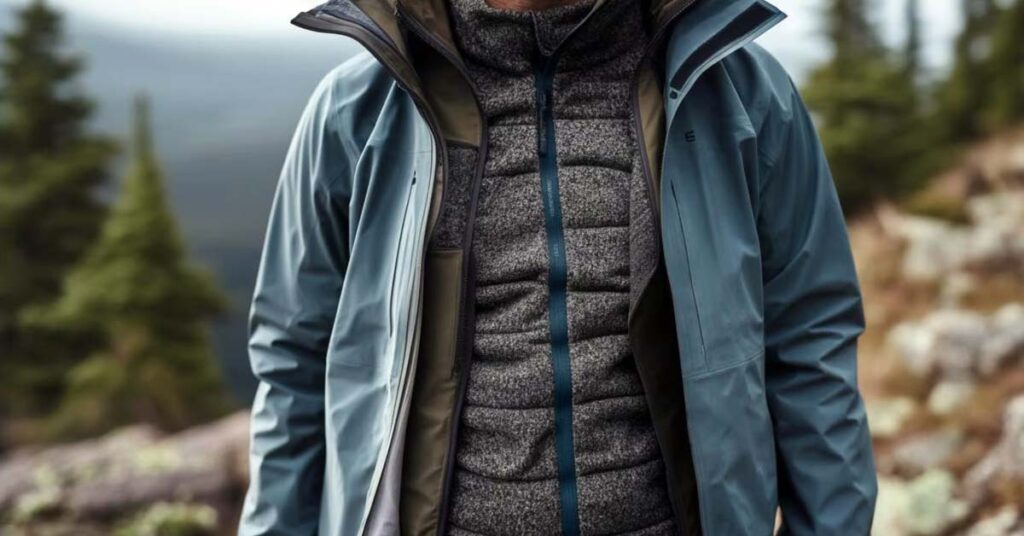
Base Layer: Moisture-Wicking and Comfortable
Your base layer is the foundation of your warmth. It should fit snugly and wick moisture away from your skin. I prefer merino wool or synthetic materials because they keep me dry even when I’m sweating. Avoid cotton—it retains moisture and can make you feel colder.
Mid Layer: Insulation is Essential
The mid layer traps heat close to your body. Fleece jackets, down vests, or synthetic insulated jackets work well. I always carry a lightweight fleece because it’s versatile and dries quickly.
Outer Layer: Protection from the Elements
Your outer layer should be windproof and waterproof. A good quality shell jacket and pants will shield you from rain, snow, and wind. Look for breathable materials to prevent overheating.
Extras: Don’t Forget Your Extremities
Your hands, feet, and head lose heat quickly. Always pack a warm hat, gloves, and thick socks. I also recommend neck gaiters or scarves for added protection.
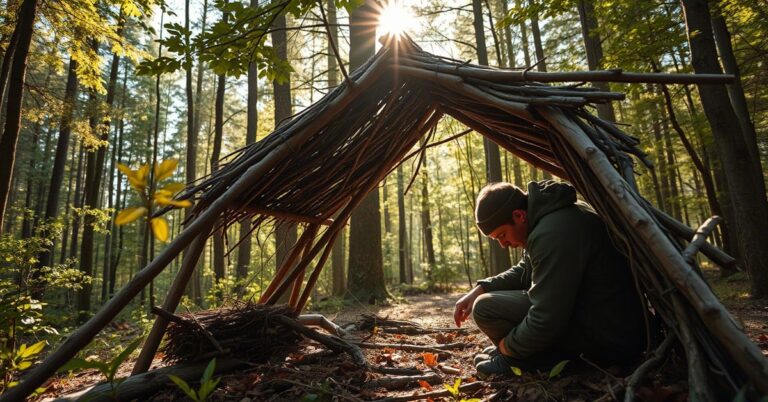
Step 2: Build a Proper Shelter
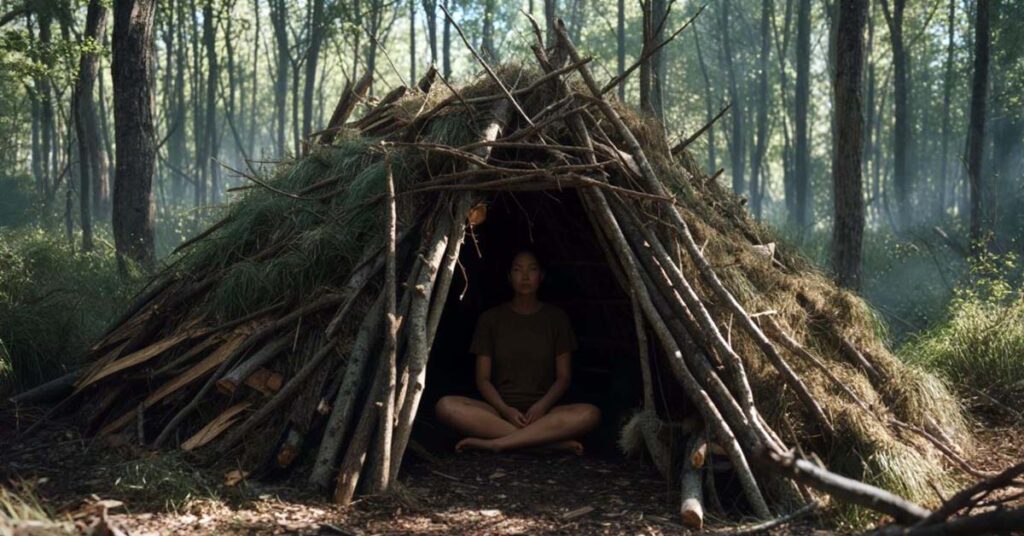
Your shelter is your first line of defense against the cold. In bushcraft camping, you might not always have a tent, so knowing how to build a natural shelter is crucial.
Choose the Right Location
Pick a spot that’s sheltered from the wind and away from low-lying areas where cold air settles. Look for natural windbreaks like trees or rocks.
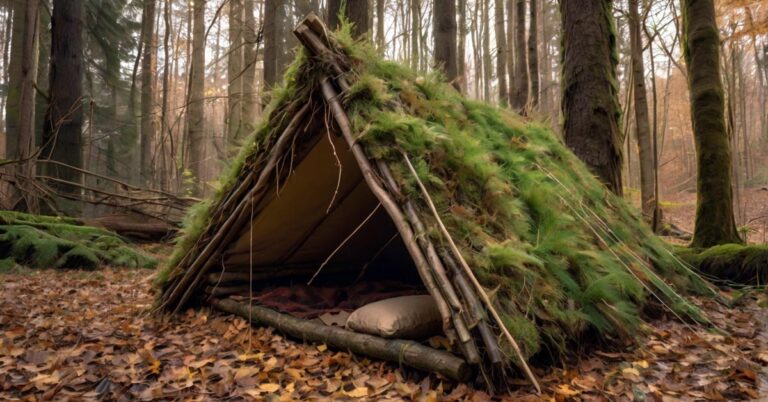
Insulate Your Shelter
If you’re building a debris hut or lean-to, use plenty of leaves, grass, or pine needles to insulate the walls and floor. The thicker the insulation, the warmer you’ll be.
Reflect Heat with a Fire
Position your shelter so that the opening faces away from the wind and toward a fire. A well-built fire can reflect heat into your shelter, making it much warmer.
Also see my written article about how to build a bushcraft shelter.
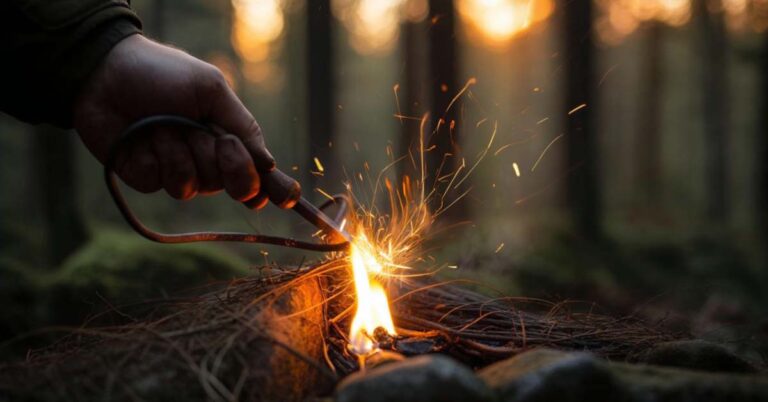
Step 3: Learn Fire-Building Techniques
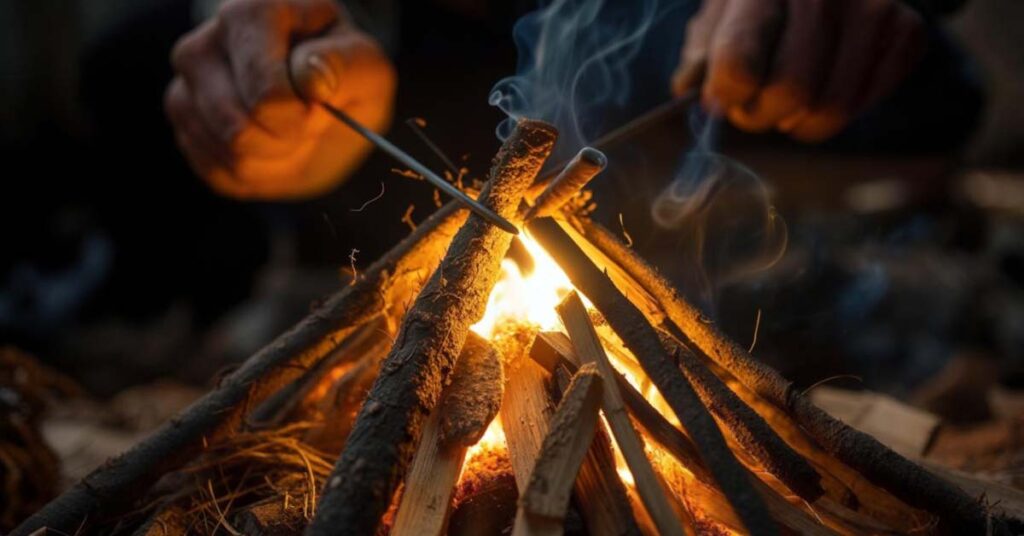
A well-built fire is the heart of bushcraft camping. It provides warmth, light, and a way to cook food. Here’s how to build a fire that keeps you warm all night:
Choose the Right Location
Pick a spot that’s sheltered from the wind and at least 15 feet away from your tent or any flammable materials. Clear the area of leaves, twigs, and debris to prevent accidental fires.
Gather the Right Materials
You’ll need tinder (dry grass, bark, or cotton balls), kindling (small twigs), and fuel wood (larger logs). Always collect more than you think you’ll need.
Build a Fire Lay
I prefer the teepee or log cabin fire lay because they’re easy to build and produce consistent heat. Place your tinder in the center, surround it with kindling, and add larger logs as the fire grows.
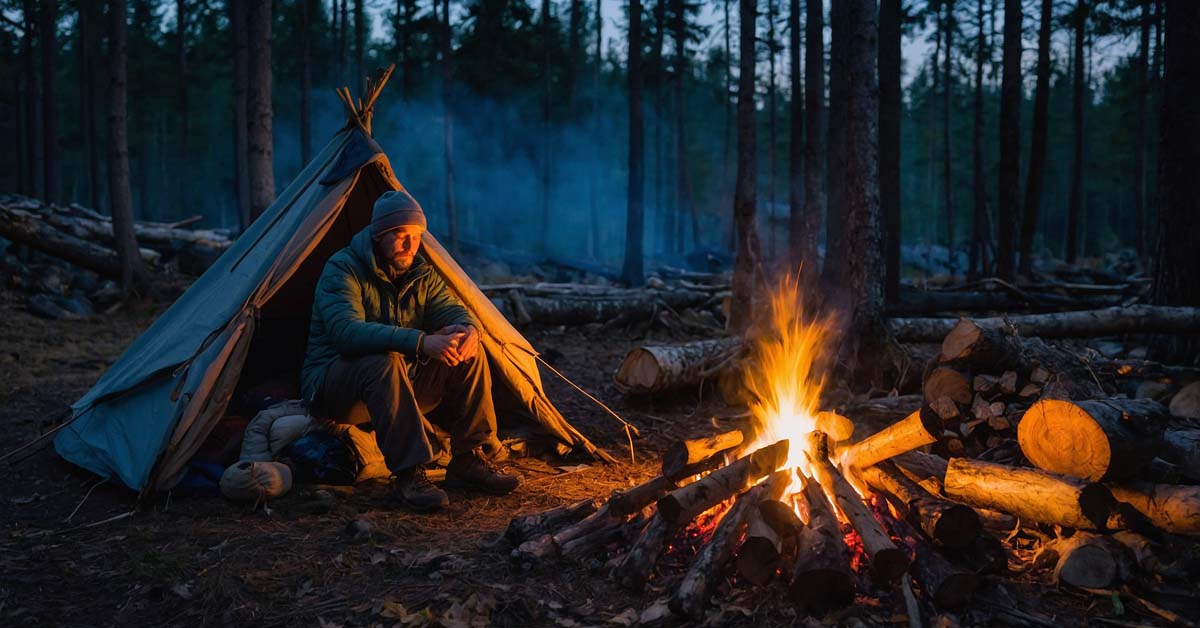
Keep the Fire Going
Add fuel wood gradually to maintain a steady flame. If you’re sleeping near the fire, build a reflector wall with logs or rocks to direct heat toward you.
Step 4: Use a High-Quality Sleeping System
Your sleeping setup can make or break your warmth during the night. Here’s what I recommend:
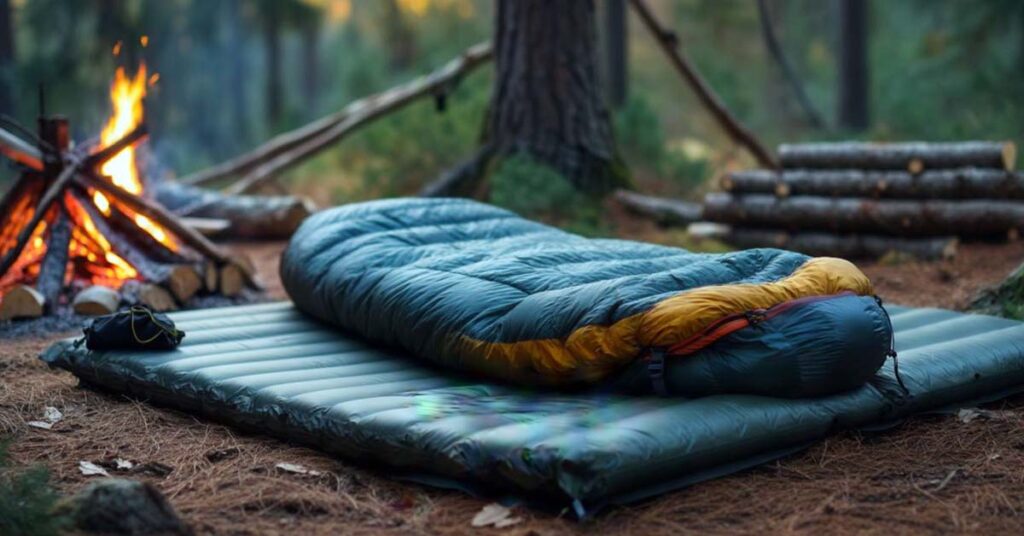
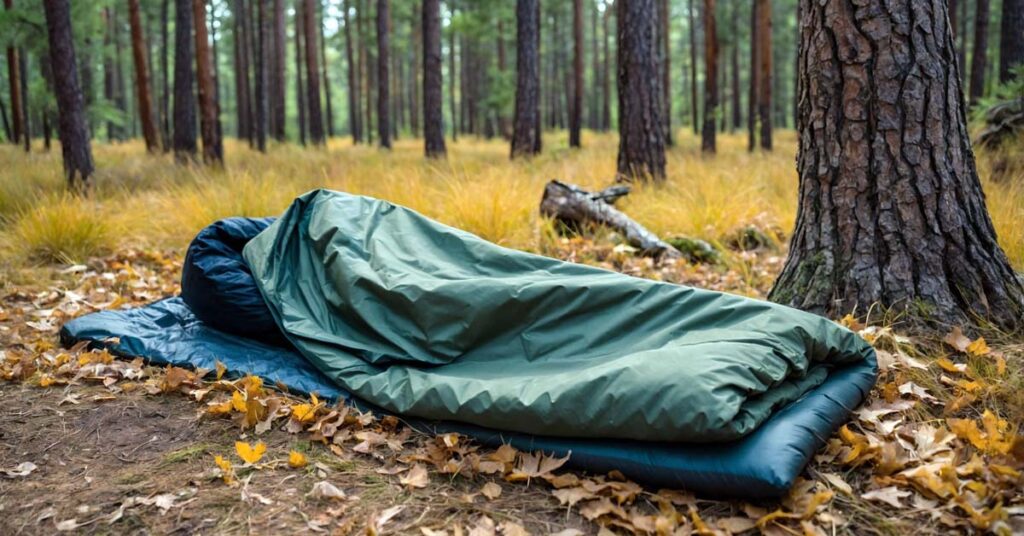
Invest in a Good Sleeping Bag
Choose a sleeping bag rated for temperatures lower than what you expect. Down bags are lightweight and warm, but synthetic bags perform better when wet.
Add a Sleeping Pad
A sleeping pad insulates you from the cold ground. I use a closed-cell foam pad or an inflatable pad with a high R-value for extra warmth.
Consider a Bivy Bag or Emergency Blanket
If you’re not using a tent, a bivy bag or emergency blanket can add an extra layer of insulation and protect you from wind and moisture.
Step 5: Stay Dry at All Costs
Staying dry is one of the most critical aspects of staying warm in bushcraft camping. Wet clothing or gear can sap your body heat quickly, even in mild weather. Here’s how I ensure I stay dry during my trips:
Avoid Sweating Through Layering
Sweating is your enemy in cold conditions. When you sweat, moisture builds up in your clothing, and as it evaporates, it cools your body. To prevent this:
- Adjust your layers: If you’re hiking or working hard, remove a layer before you start sweating. Once you stop moving, add the layer back to retain heat.
- Use breathable fabrics: Choose moisture-wicking base layers that pull sweat away from your skin.
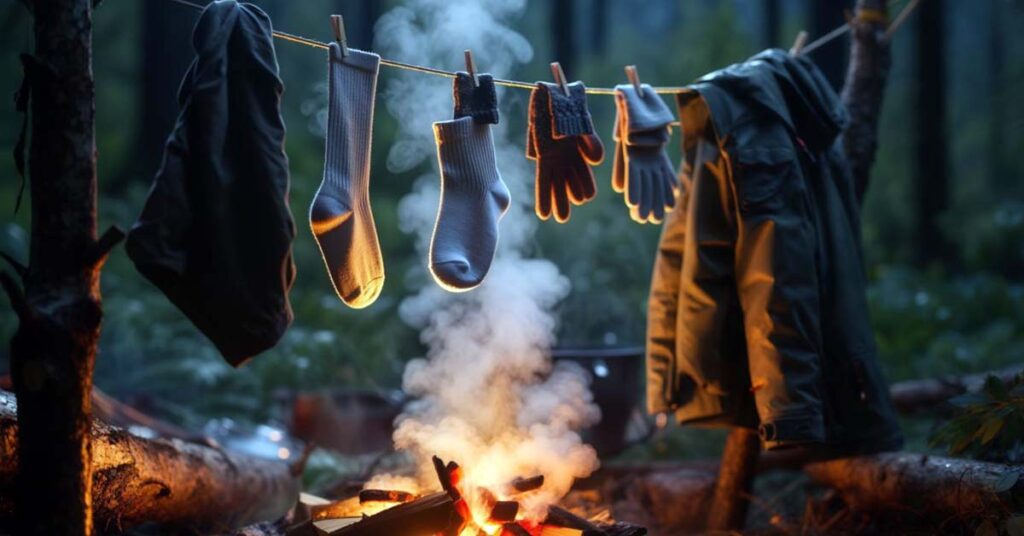
Dry Wet Gear Immediately
If your clothes, socks, or boots get wet, dry them as soon as possible. Here’s how I handle wet gear:
- Hang wet items near the fire: Use a makeshift clothesline or place them on rocks near the fire (but not too close to avoid melting or burning).
- Rotate clothing: If you have extra clothes, change into dry ones and let the wet ones dry overnight.
- Use body heat: If you don’t have a fire, place damp socks or gloves under your clothing layers to dry them with your body heat.
Protect Your Shelter from Moisture
Moisture can seep into your shelter from the ground or rain. Here’s how to keep your shelter dry:
- Use a groundsheet: Place a tarp, plastic sheet, or even large leaves under your shelter to create a barrier between you and the damp ground.
- Elevate your bed: Build a raised bed using logs, branches, or a thick layer of leaves to keep yourself off the cold, wet ground.
- Ventilate your shelter: Condensation can build up inside your shelter, especially if it’s tightly sealed. Leave a small opening to allow airflow and reduce moisture buildup.
Step 6: Eat and Stay Hydrated
Your body needs energy to generate heat, and staying hydrated is just as important as eating the right foods. Here’s how I manage my food and water intake to stay warm:
Eat High-Calorie, Nutrient-Dense Foods
In cold weather, your body burns more calories to stay warm. Focus on foods that provide sustained energy:
- Nuts and seeds: Almonds, walnuts, and sunflower seeds are calorie-dense and easy to carry.
- Dried fruits: Raisins, apricots, and dates are great for quick energy.
- Chocolate: Dark chocolate is a personal favorite—it’s high in calories and provides a quick energy boost.
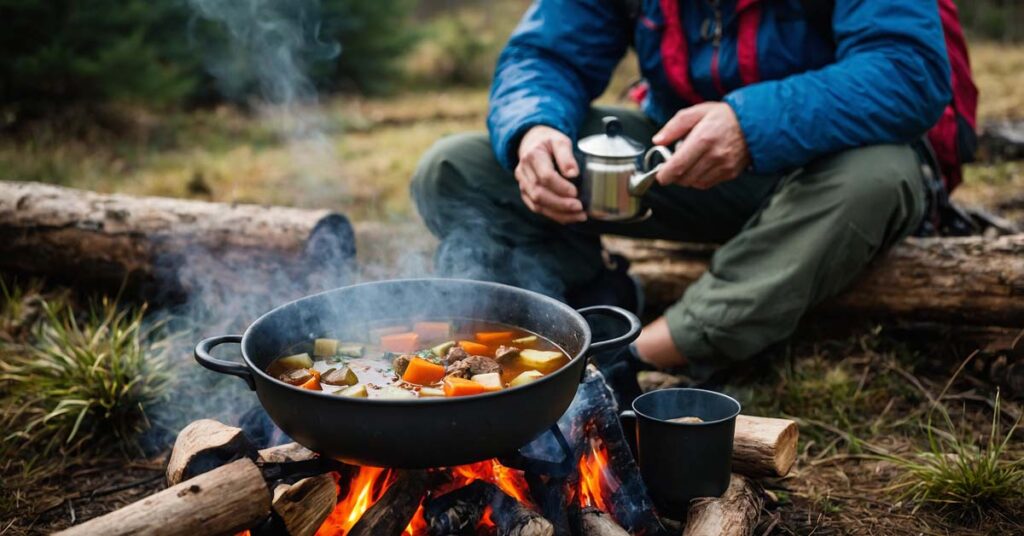
- Warm meals: If possible, cook warm meals like soups, stews, or oatmeal. These not only provide calories but also help raise your core temperature.
Drink Warm Fluids Regularly
Staying hydrated is crucial, but cold water can lower your body temperature. Here’s what I do:
- Drink warm liquids: Herbal teas, hot chocolate, or even warm water can help keep your body warm.
- Use an insulated bottle: Carry an insulated thermos to keep your drinks warm throughout the day.
- Avoid caffeine and alcohol: While caffeine can dehydrate you, alcohol dilates blood vessels and makes you lose heat faster. Stick to non-caffeinated, non-alcoholic drinks.
Snack Frequently
Instead of eating large meals, snack frequently to maintain your energy levels. I keep small, high-calorie snacks in my pocket for easy access.
Step 7: Use Natural Insulation
In bushcraft camping, you often rely on natural materials to stay warm. Here’s how I use the environment to my advantage:
Create a Thick Bed of Natural Materials
Sleeping directly on the ground can drain your body heat. Instead, build a thick, insulated bed:
- Collect dry leaves or grass: Pile them up to create a soft, insulating layer. Aim for at least 6-8 inches thick.
- Use pine boughs: If you’re in a pine forest, gather boughs to create a comfortable, aromatic bed. Place them in a crisscross pattern for added insulation.
- Add a reflective layer: If you have an emergency blanket, place it under your bedding to reflect heat back toward your body.
Insulate Your Shelter with Natural Materials
Your shelter can be made warmer by adding natural insulation:
- Line the walls: Use leaves, grass, or moss to line the inside walls of your shelter. This creates an extra layer of insulation.
- Block drafts: Use branches, logs, or additional debris to seal gaps in your shelter and prevent cold air from entering.
Use Rocks to Retain Heat
Rocks can absorb and radiate heat, making them a great natural resource:
- Heat rocks by the fire: Place large, dry rocks near your fire to warm them up. Once hot, wrap them in cloth or place them in your shelter to provide warmth.
- Create a heat reflector: Build a wall of rocks behind your fire to reflect heat into your shelter.

Final Thoughts
Staying warm in bushcraft camping is all about preparation, knowledge, and adaptability. By dressing in layers, building a proper shelter, mastering fire starting, and using the right gear, you can stay comfortable even in challenging conditions.
Remember, the key to success is practice. Test your skills in different environments and weather conditions to see what works best for you.
I hope this guide helps you stay warm on your next bushcraft camping adventure. If you have any questions or tips of your own, feel free to share them in the comments below. Happy camping!