How to Keep Food Cold When Camping: 7 Essential Tricks
Struggling with cold food outdoors? Discover expert tips on how to keep food cold when camping. Act fast for fresh meals every time!
Keeping food cold while camping is a challenge I have tackled over many years of outdoor adventures. I have learned from experience and research that proper planning and smart techniques can make all the difference.
In this article, I will walk you through everything I have learned about keeping food cold during your camping trips. Whether preparing for a short trip or a multi-day expedition, these methods help maintain safe food temperatures and ensure meals stay fresh during your adventures.
Contents Include
- 1 The Importance of Keeping Food Cold When Camping
- 2 Essential Tools for Maintaining a Cold Environment
- 3 Practical Methods for Keeping Food Cold
- 4 Food Storage Strategies for Extended Trips
- 5 Additional Tips for Handling Different Conditions
- 6 Step-by-Step Guide for a Successful Food Cooling Setup
- 7 Common Pitfalls and How to Avoid Them
- 8 Handling Specific Camping Scenarios
- 9 A Personal Note for All Campers
- 10 Final Thoughts
The Importance of Keeping Food Cold When Camping
Perishable food items can spoil quickly when exposed to warm temperatures. Bacteria multiply faster under these conditions, which may lead to health risks and wasted supplies. Maintaining a cool temperature not only ensures food safety but also preserves the taste and texture of ingredients.
When planning a camping trip, it is crucial to consider how to store food properly. Fresh meals become more enjoyable when ingredients are kept at the right temperature. A few well-planned strategies go a long way in preserving food quality while spending time outdoors.
Essential Tools for Maintaining a Cold Environment
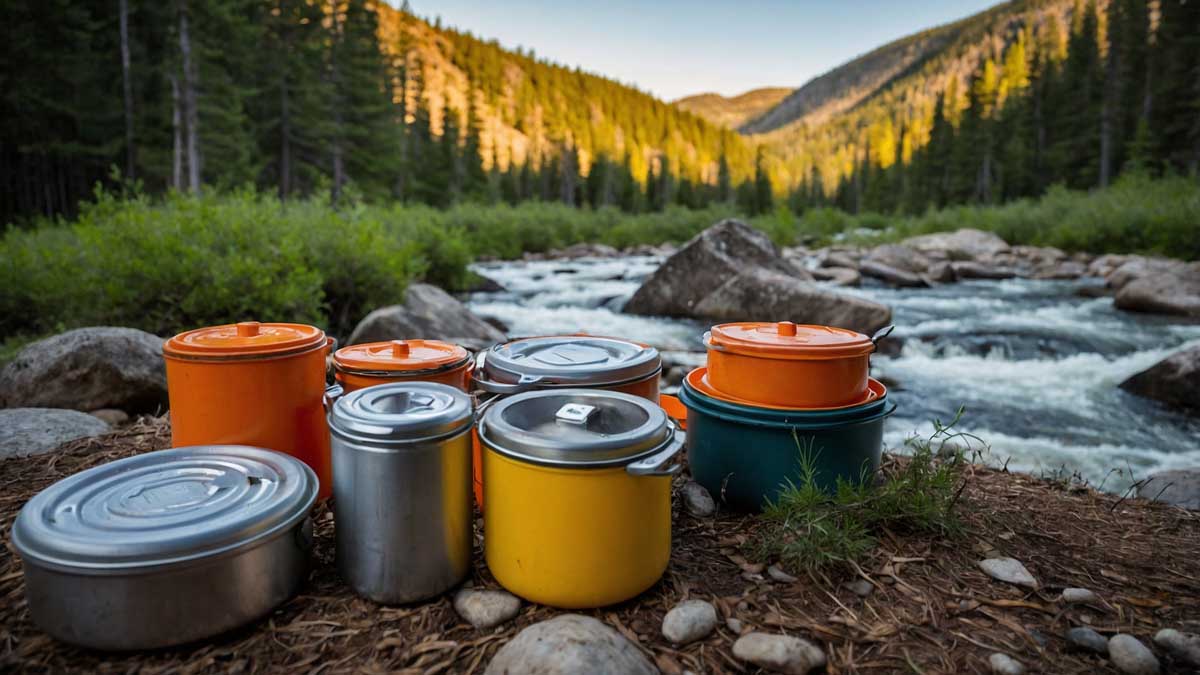
Coolers
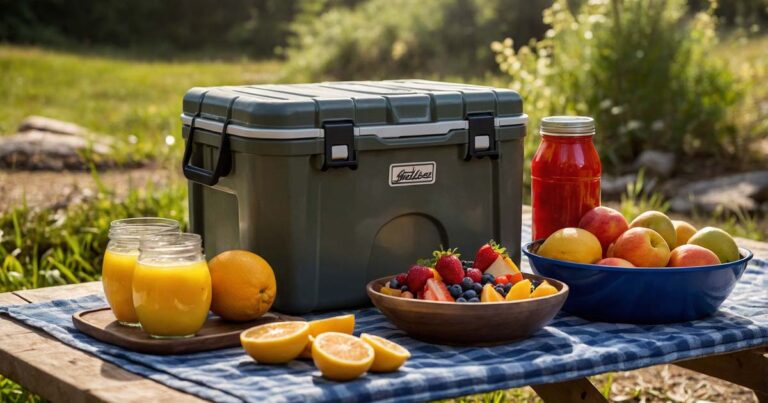
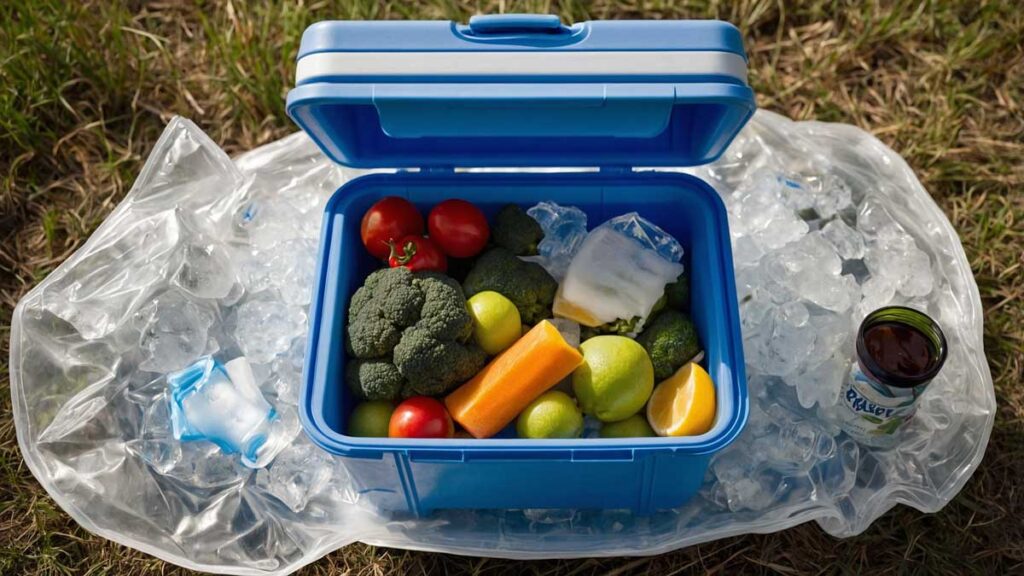
A reliable cooler is the cornerstone of food safety on any trip. There are various options, such as hard-sided coolers that offer robust insulation or soft-sided alternatives that are lightweight and easier to transport. Many campers prefer hard-sided coolers because they often provide better temperature retention and durability.
Key features to consider when selecting a cooler include:
- Thick insulation to slow down temperature changes
- Secure latches that prevent accidental openings
- Adequate capacity to store all food items without crowding
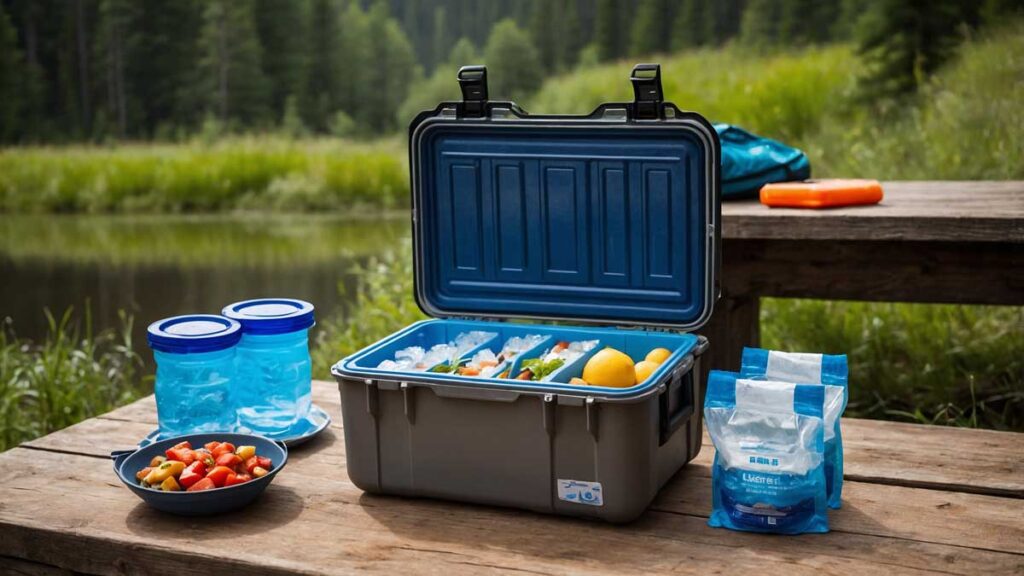
A high-quality cooler makes it possible to maintain low temperatures for longer periods. For best results, choose one that matches the trip’s duration and the type of food being stored. For an example below of a insulated portable cooler from Coleman brand.

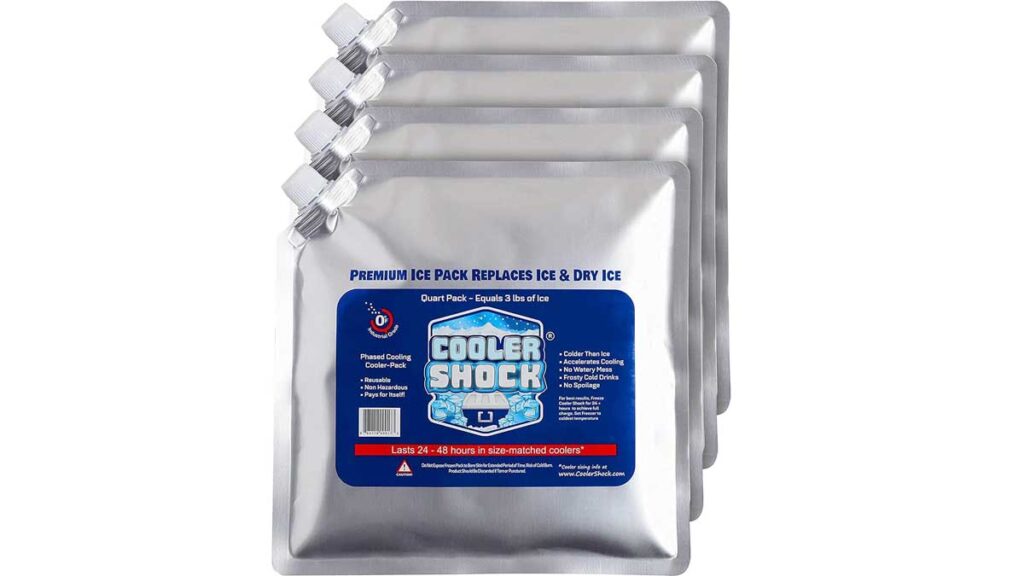
Ice Packs and Ice Blocks
Combining ice packs with blocks of ice can optimize temperature control. Ice packs are designed to remain cold for longer and reduce the water content from melted ice, which helps avoid sogginess in food items.
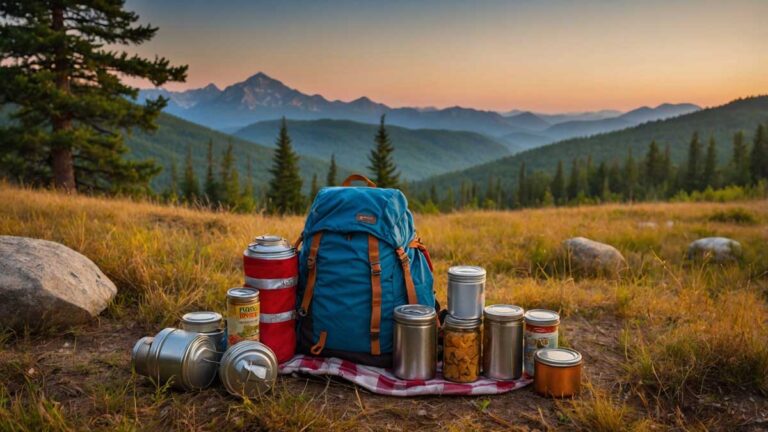
Ice blocks, on the other hand, have a slower melt rate compared to small cubes. When planning a trip, calculating the required quantity of ice is important, especially for warmer conditions or longer durations. Many experienced campers always keep extra ice on hand as a precaution.
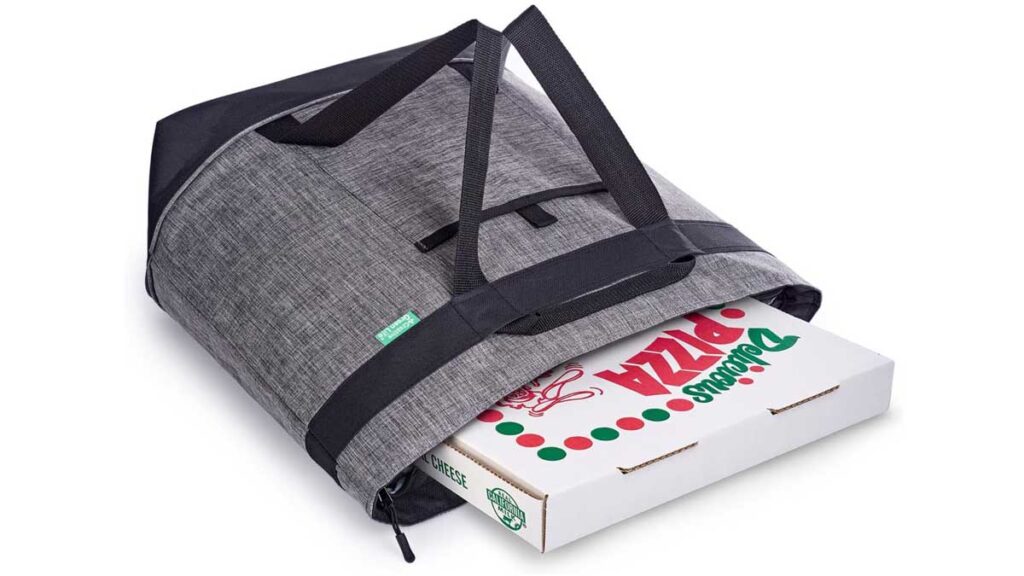
Insulated Bags
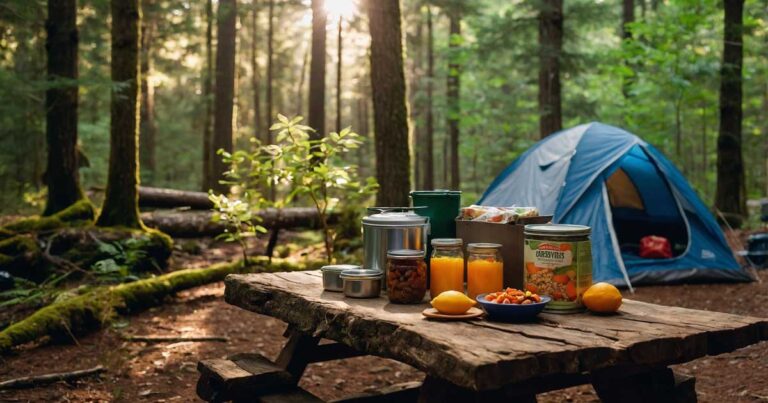
For shorter trips or when needing to move only a few items, insulated bags provide a convenient solution. These bags are lightweight, portable, and ideal for storing essential items like milk or medication when the main cooler is not within reach.
They work well as a supplementary tool, especially when venturing away from the main campsite. The combination of a robust cooler and smaller insulated bags ensures that vital items remain at safe temperatures even during day trips away from the base.
Practical Methods for Keeping Food Cold
Pre-Chilling the Cooler and Food
Starting with a pre-chilled cooler gives an immediate advantage. Before setting off, fill the cooler with ice and allow it to cool down. Then, place food items that have also been pre-chilled in the refrigerator into the cooler. This method minimizes the initial temperature gap, reducing the amount of ice required to maintain a safe temperature.
Pre-chilling both the cooler and food items reduces the workload on ice packs once at the campsite. It is a simple yet effective method to extend the duration that food remains cold.
Strategic Packing
A well-organized cooler helps minimize exposure to warm air. Packing frequently needed items on top reduces the need for repeated openings, which in turn preserves the cold temperature inside.
Consider the following packing tips:
- Layering: Place ice or ice packs at the bottom, then add food items in layers. Items that need extra cooling should be kept closer to the ice source.
- Grouping: Separate foods by meal or type to limit the time the cooler stays open when accessing a particular item.
- Sealed Containers: Use airtight containers and resealable bags to reduce air exposure and protect food from moisture.
These strategies ensure that the cooler is used efficiently, keeping food at safe temperatures throughout the trip.
Minimizing Air Space
Air pockets inside the cooler can allow warm air to circulate, leading to a quicker temperature rise. Filling any empty space in the cooler with extra ice packs or even bottles of water helps maintain a consistent temperature. This technique not only prevents temperature fluctuations but also offers additional drinking water when needed.
A tightly packed cooler retains its chill better than one with significant empty space. It is a small adjustment that makes a significant difference in maintaining food safety.
Keeping the Cooler in the Shade
Sunlight is one of the main contributors to heat buildup in a cooler. Placing the cooler in a shaded spot can dramatically reduce the impact of external heat. If natural shade is unavailable, using a reflective cover or a simple tarp can help reflect sunlight away.
Positioning the cooler in an area shielded from direct sunlight is essential. Even minor adjustments in placement can reduce the frequency of ice replacement, making the overall cooling system more efficient.
Limit the Frequency of Opening
Each time the cooler is opened, cold air escapes and is replaced by warmer air from outside. To keep the contents cold, plan in advance what is needed before opening the cooler. Keeping the cooler closed as much as possible is one of the simplest yet most effective ways to maintain a low temperature.
Using labels on containers or organizing food by meals can help reduce the time spent searching for items. This practice minimizes the temperature drop and keeps the ice working longer.
Regular Ice Rotation
For longer camping trips, a regular ice rotation schedule is critical. Monitor the ice levels periodically and replace melted ice with fresh supplies from a backup stash kept in a shaded area. This rotation ensures that the food remains safely chilled even as conditions change throughout the day.
Having a systematic approach to ice replacement prevents scenarios where food may become exposed to rising temperatures. It is a practical habit developed over many trips.
Use of Dry Ice (When Suitable)
In some cases, dry ice can be used to maintain lower temperatures without the excess water from melting regular ice. However, dry ice must be handled with care. It should be placed in well-ventilated areas and never inside a sealed container to prevent the risk of carbon dioxide buildup.
Dry ice is best reserved for situations where traditional ice methods might fall short. It offers a longer-lasting solution but requires careful planning to use safely. Many campers opt for regular ice combined with ice packs as a reliable and easier-to-manage option.
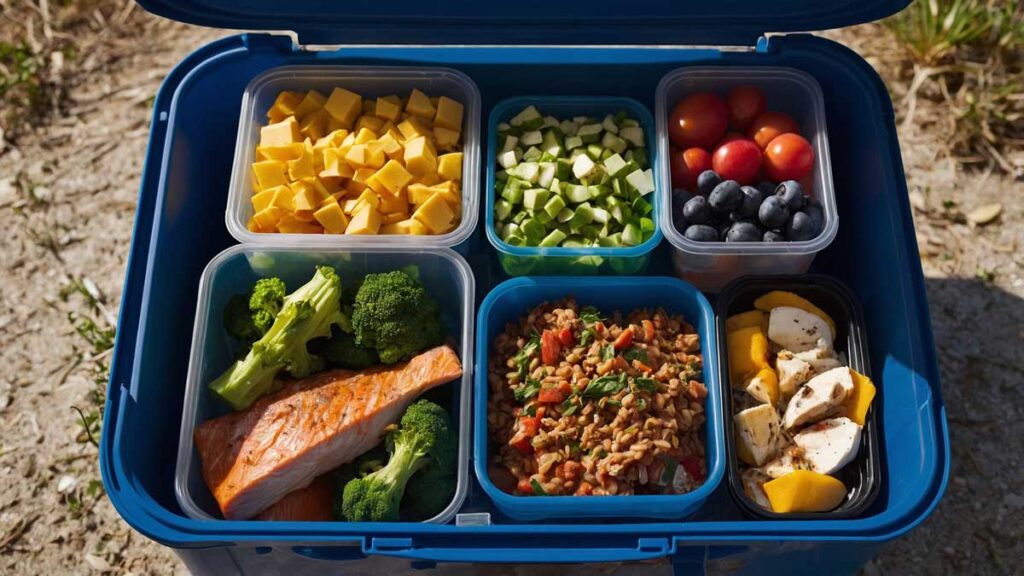
Food Storage Strategies for Extended Trips
Meal Organization
Planning meals in advance can simplify the process of keeping food cold. By grouping items according to breakfast, lunch, and dinner, accessing only what is needed at any one time becomes much easier. This minimizes the number of times the cooler is opened.
Labeling containers by meal type also speeds up retrieval and reduces the exposure of remaining food to ambient temperatures. Organized storage is a key component of successful food management on longer trips.
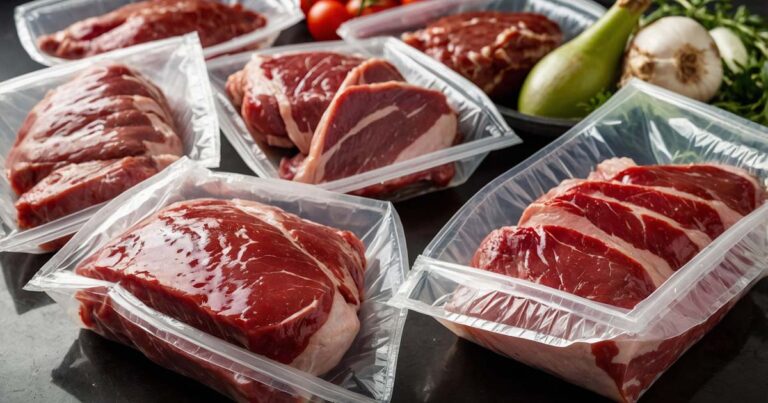
Vacuum-Sealed Bags
Vacuum-sealed bags are an excellent way to extend the cooling effect. By removing excess air, these bags help maintain a consistent temperature around food items. This method works particularly well for meat, fish, and other perishable goods that require constant refrigeration.
Vacuum sealing also protects food from moisture and cross-contamination. It is an effective addition to any camping routine, providing extra assurance that food remains safe even under fluctuating outdoor conditions.
Separating Raw and Cooked Foods
Avoiding cross-contamination is essential for food safety. Raw foods should always be stored separately from cooked items. This separation helps prevent the spread of bacteria and ensures that both types of food are maintained at their ideal temperatures.
Using distinct containers for raw and cooked foods minimizes the risk of accidental mixing. It also makes meal preparation more organized and hygienic.
Beverage Storage
Beverages can occupy a significant amount of space and impact the overall temperature inside the cooler. Storing them in a separate cooler, if possible, or designating a specific section within the main cooler can help maintain an even temperature distribution.
When beverages are pre-chilled, they can serve a dual purpose by acting as additional cooling agents. This method helps optimize the available space and temperature control simultaneously.
Additional Tips for Handling Different Conditions
Cooler Weather
In cooler climates, the need for extra ice may be reduced. Even so, the same principles apply: pre-chilling, strategic packing, and minimal opening of the cooler. In cooler weather, it might be possible to use fewer ice packs without compromising food safety.
Regular temperature checks remain important, even when conditions are mild. Adjusting the quantity of ice based on the ambient temperature ensures that food stays at a safe level.
Hotter Conditions
When camping during warmer weather, more stringent measures are necessary. In addition to using extra ice packs and blocks, it becomes even more important to keep the cooler in a shaded area and limit its exposure to direct sunlight.
More frequent temperature checks and a larger backup supply of ice are required. Even small lapses, such as opening the cooler too often, can lead to a faster temperature increase. Careful monitoring is crucial in hot conditions.
Rainy or Humid Environments
Moisture from rain or high humidity can affect both the performance of the cooler and the quality of the food. Keeping the cooler dry on the outside with waterproof covers can prevent additional water from seeping in. Inside, using airtight containers and vacuum-sealed bags reduces the risk of condensation affecting the food.
In humid conditions, controlling moisture is just as important as maintaining a low temperature. Extra precautions to protect the contents can help avoid spoilage and maintain food safety.
Step-by-Step Guide for a Successful Food Cooling Setup
1. Pre-Trip Planning
- Inspect and Prepare Equipment: Check the cooler for any damage. Verify that seals and latches work properly, and ensure that all components—coolers, ice packs, insulated bags, and any extra containers—are ready for use.
- Gather Necessary Supplies: Prepare enough ice, ice packs, and extra backup supplies based on the expected trip duration and weather conditions. Also, pre-chill food items in the refrigerator to minimize the temperature gap when packing the cooler.
- Organize Meals: Plan meals ahead of time. Divide food items into breakfast, lunch, dinner, and snacks. This preparation makes it easier to access items without leaving the cooler open for too long.
2. Packing the Cooler
- Layering the Cooler: Start with a layer of ice or ice packs at the bottom. Place frequently used items on top, while keeping items that require extra cooling near the ice. Layering in this manner reduces the time needed to search for food, keeping the cooler closed.
- Filling Empty Spaces: Fill any gaps with additional ice packs or sealed water bottles. This method minimizes air pockets and helps maintain a constant low temperature.
- Organizing by Meal: Group food items by meal or category. Labeling containers and using separate compartments for raw and cooked foods further streamlines the process of finding items quickly.
3. Managing the Cooler on Site
- Choosing the Right Spot: Locate a shaded area at the campsite to set up the cooler. Use a reflective cover if natural shade is not abundant, and try to avoid any direct sunlight that could heat the cooler.
- Temperature Monitoring: Use a portable thermometer to check the internal temperature regularly. Adjust the cooling method if the temperature starts to rise by adding more ice or repositioning the cooler.
- Minimizing Openings: Plan each use of the cooler in advance. Retrieve all needed items at once to avoid repeated openings that let warm air in.
- Rotating Ice: Periodically check ice levels and replace melted ice with fresh supplies kept in an additional shaded area. This routine helps maintain a consistent cooling environment.
4. Post-Trip Maintenance
- Cleaning the Cooler: After returning home, clean the cooler thoroughly. Remove any food residues, wipe down all surfaces, and allow it to dry completely. This step prevents mold and odors from building up over time.
- Equipment Storage: Store the cooler and any accessories in a dry, cool place until the next trip. Proper storage prolongs the life of the equipment and ensures readiness for future outings.
- Review and Adjust: Evaluate the effectiveness of the cooling strategy. Note any issues or improvements that could be made for future trips. Making adjustments based on hands-on camping trips helps refine practices to work even better over time.
Common Pitfalls and How to Avoid Them
Overloading the Cooler
While it may be tempting to pack as much as possible, overloading the cooler can prevent proper cold air circulation. When the cooler is too full, the temperature may not distribute evenly across all items. Keep a balance between space efficiency and air circulation to ensure that every part of the cooler remains sufficiently cold.
Frequent Cooler Openings
Each opening of the cooler allows warm air to enter, which can disrupt the stable temperature inside. Avoid unnecessary openings by planning ahead. Grouping items together and using labels to identify contents minimizes the time needed to locate specific food items.
Ignoring Temperature Checks
Relying solely on the appearance of ice or food is not enough. A small, portable thermometer is an inexpensive but valuable tool that helps ensure food safety. Regular temperature monitoring provides a clear indication of whether additional cooling measures are needed.
Neglecting Backup Supplies
Unexpected changes in weather can quickly turn a well-packed cooler into a less effective system if backup supplies are not available. Keeping an extra stash of ice and additional cooling accessories can prevent situations where food is exposed to unsafe temperatures.
Handling Specific Camping Scenarios

A Short Weekend Getaway
For a weekend trip, the approach is simple and efficient. Use a high-quality cooler with sufficient ice packs and pre-chilled food items. Keep the cooler in a naturally shaded area and plan meals so that the cooler is opened only when necessary. This method ensures that food remains cold throughout the brief trip without requiring excessive supplies.
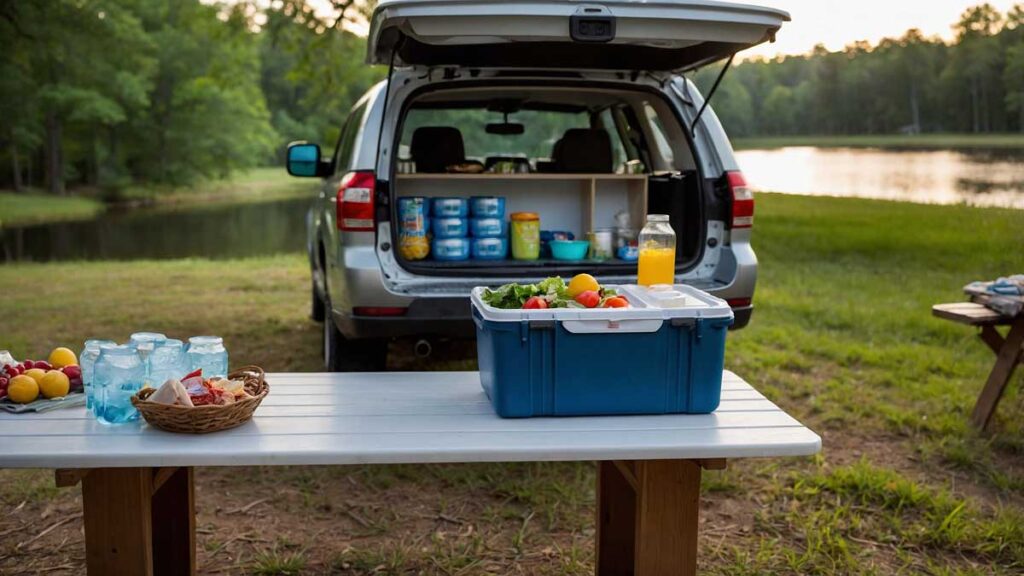
A Multi-Day Camping Trip
Longer trips require more planning. In addition to using a robust cooler, include a secondary insulated container for items that must stay extra cold, such as dairy or meat. Regularly rotate the ice and make frequent temperature checks. Group meals by day or type to reduce exposure time when accessing food. This comprehensive approach maintains food safety over several days and adapts to changing conditions throughout the trip.
Handling Sudden Weather Changes
Weather can shift unexpectedly, impacting the effectiveness of any cooling strategy. When facing unexpected heat, additional measures—such as repositioning the cooler to a deeper shade, increasing the backup ice supply, or even using waterproof covers—can help maintain the required temperature. Constant vigilance and readiness to adjust are key when outdoor conditions are unpredictable.
Camping in Rainy or Humid Climates
In environments with high humidity or frequent rain, moisture management is essential. Use waterproof covers on the cooler to prevent rainwater from seeping in. Inside the cooler, protect food by storing items in airtight containers or vacuum-sealed bags. These extra precautions help avoid condensation and maintain a consistently cold environment.
A Personal Note for All Campers
Prepare Before You Go
The most successful trips begin with thorough preparation. Always inspect and test the cooling equipment before heading out. Pre-chill both the cooler and food items, and plan meals meticulously. These preparatory steps minimize complications once on the trail.
Focus on Organization
Keeping the cooler organized is one of the most effective ways to maintain temperature control. Organize food by meal, label containers clearly, and use separate compartments for different types of food. An organized cooler not only preserves temperature but also saves time during meal preparation.
Stay Flexible
Conditions in the outdoors can change rapidly. Having a flexible approach allows for quick adjustments if the temperature inside the cooler starts to rise unexpectedly. Keep extra ice, maintain backup supplies, and always have a plan for unforeseen weather changes. Being adaptable is a valuable trait when camping.
Regular Maintenance Matters
After each trip, proper cleaning and storage of the cooler and other cooling equipment are essential. This practice ensures that everything is in good working order for the next adventure. Regular maintenance helps prevent odors, mold, and any lingering bacteria that could compromise food safety.
Learn from Experience
Every camping trip provides new insights into what works best. Reflect on each outing and take note of any improvements that could be made. Continuous learning from past trips builds practical knowledge that enhances overall efficiency and effectiveness.
Final Thoughts
Keeping food cold when camping is achievable with careful planning and practical methods. The techniques discussed in this guide—from pre-chilling and strategic packing to monitoring temperature and handling unexpected weather—offer a reliable framework for maintaining food safety on any trip.
Whether preparing for a weekend getaway or a multi-day expedition, following these steps ensures that food remains safe, fresh, and ready for consumption.
Taking the time to plan, organize, and monitor food storage will not only lead to a safer trip but also more enjoyable meals outdoors. With these techniques, outdoor enthusiasts can focus on the joy of the adventure without worrying about food spoilage.
May every camping trip be safe, enjoyable, and filled with fresh meals prepared with care. Happy camping!