How to Cook Using Rocks and Hot Coals: Easy Steps for Campers
Try cooking with rocks and hot coals on your next trip. This guide makes it simple, safe, and fun for every camper.
How to cook using rocks and hot coals is a unique and satisfying method I’ve honed over many camping trips. I enjoy sharing my firsthand experience with fellow campers. Cooking over rocks and hot coals is one of the most primitive yet effective ways to prepare food in the wilderness.
In this article, I explain the process step by step, from selecting the right rocks to preparing meals over hot coals. I aim to offer a clear and practical guide that you can follow on your next outdoor adventure.
Contents Include
Why Cook with Rocks and Hot Coals?
Before we get into the how, let’s talk about the why. Cooking with rocks and hot coals is not just about survival—it’s about connecting with nature and enjoying the simplicity of outdoor living. This method is perfect for campers who want to minimize their gear or try something new. Plus, it’s a great way to impress your fellow campers with your resourcefulness!
What You’ll Need
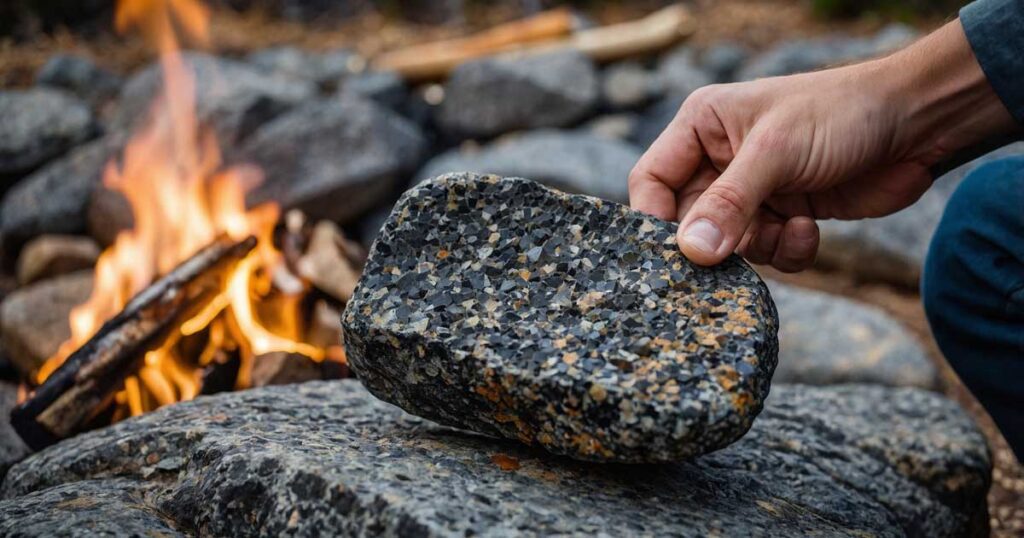
- Rocks: Choose dense, dry rocks like granite or basalt. Avoid porous rocks like sandstone, as they can explode when heated.
- Firewood: Dry hardwood works best for creating long-lasting hot coals.
- Tongs or Sticks: For handling hot rocks and coals.
- Aluminum Foil: To wrap food and prevent it from burning.
- Cooking Utensils: A spatula or tongs for flipping food.
- Heat-Resistant Gloves: For safety when handling hot rocks.
Related: The Best Foods for Campfire Cooking
How to Cook with Rocks and Hot Coals: A Simple Guide
Step 1: Choose the Right Rocks
Not all rocks are created equal. When selecting rocks for cooking, look for ones that are smooth, dry, and free of cracks. Wet or porous rocks can explode when heated, so always test them by tapping two together—if they sound hollow, avoid them. Granite and basalt are my go-to choices because they retain heat well and are less likely to shatter.
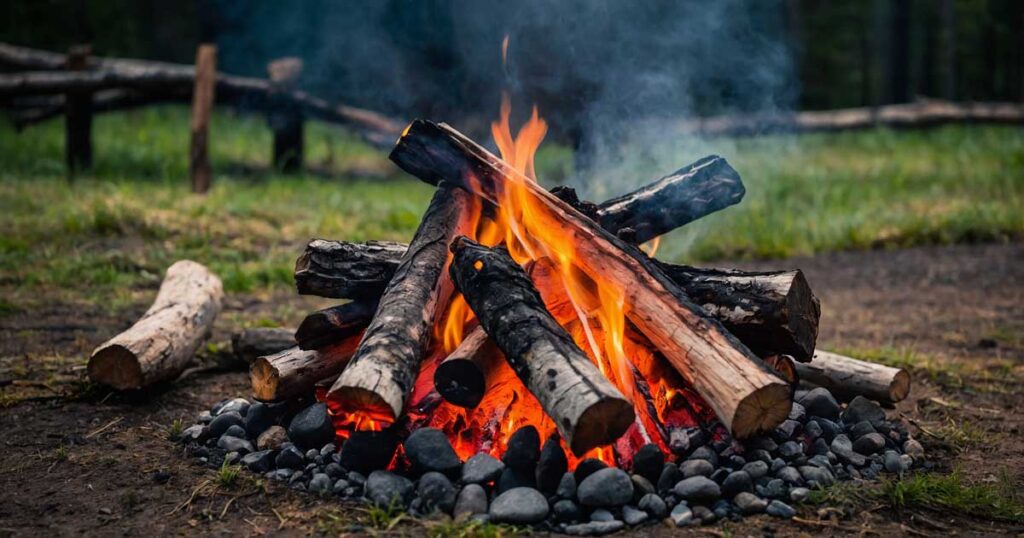
Step 2: Build Your Fire
Start by building a fire in a safe, designated area. Use dry hardwood to create a bed of hot coals. Once the fire has burned down and you have a good layer of embers, you’re ready to start cooking. Make sure the fire is stable and not too windy, as this can affect the heat distribution.
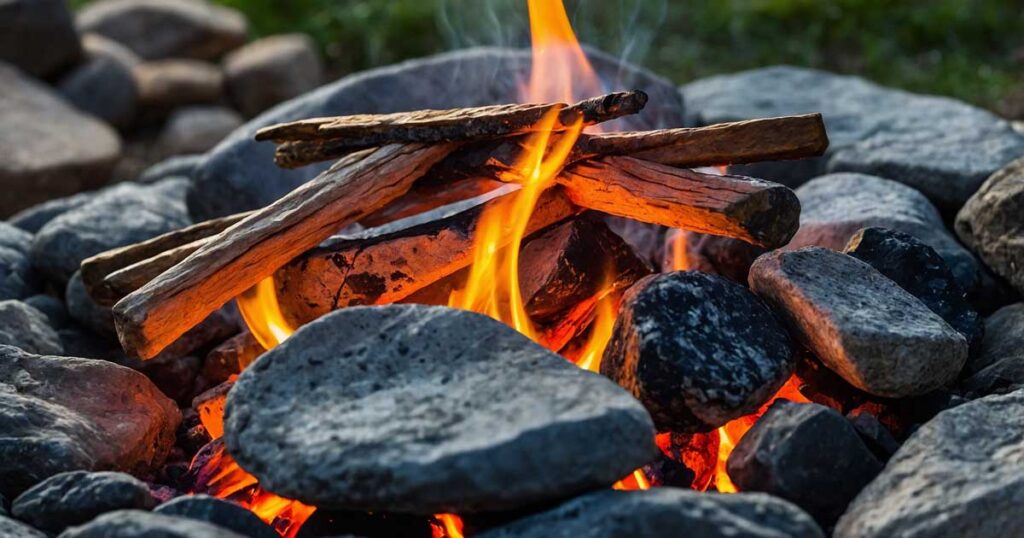
Step 3: Heat the Rocks
Place your chosen rocks around the edges of the fire, allowing them to heat up gradually. Avoid placing them directly in the flames, as this can cause them to crack. It usually takes about 20-30 minutes for the rocks to reach the right temperature. You’ll know they’re ready when they’re too hot to touch.
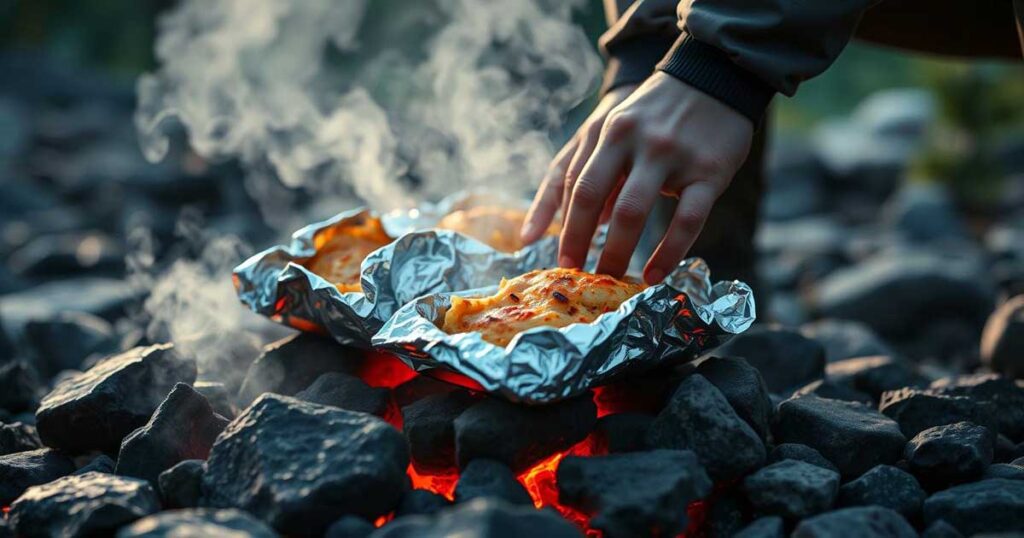
Step 4: Prepare Your Food
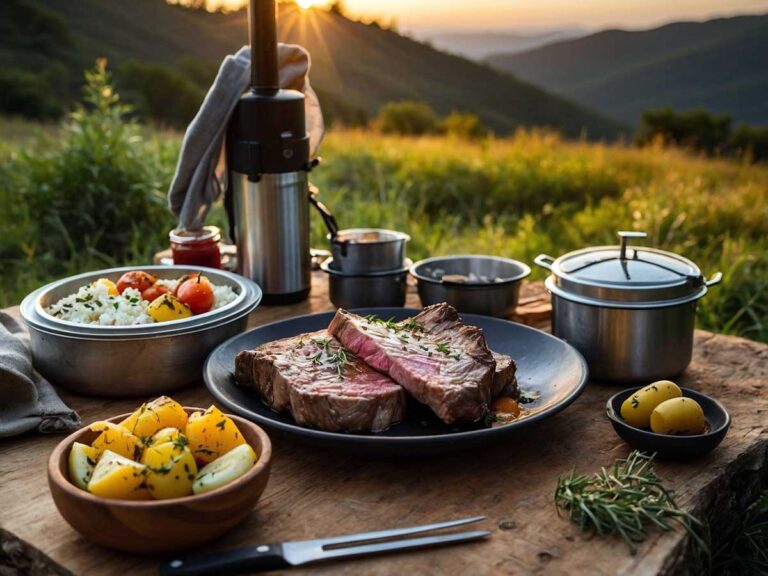
While the rocks are heating, prepare your food. Wrap vegetables, fish, or meat in aluminum foil to keep them moist and prevent them from burning. If you’re cooking directly on the rocks, lightly oil the surface to avoid sticking. For larger meals, consider using a cast-iron skillet or grill grate placed over the hot coals.
Step 5: Start Cooking
Once the rocks are hot, carefully move them to your cooking area using tongs or heat-resistant gloves. Arrange them in a way that creates an even cooking surface. Place your wrapped food on top of the rocks or directly on the hot coals. For foods like pancakes or eggs, you can use a flat rock as a makeshift griddle.
Step 6: Monitor and Flip
Cooking with rocks and hot coals requires patience and attention. Check your food regularly to ensure it’s cooking evenly. Use a spatula or tongs to flip food as needed. If the rocks start to cool, simply replace them with freshly heated ones.
Step 7: Serve and Enjoy
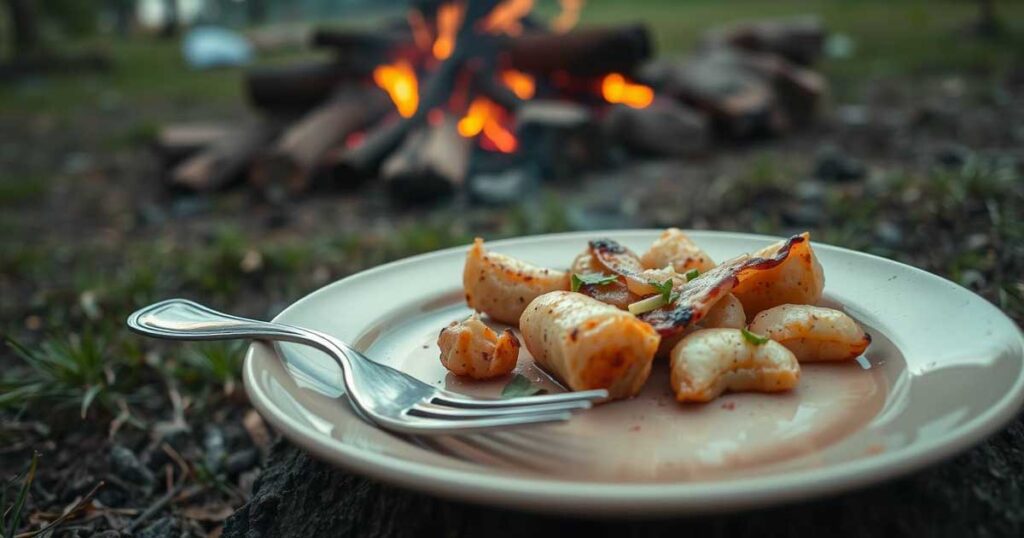
Once your food is cooked to perfection, remove it from the heat and let it cool for a few minutes. Unwrap your foil packets or transfer food to a plate. The smoky flavor from the hot coals will add a unique touch to your meal. Sit back, relax, and enjoy the fruits of your labor!
Tips and Tricks from My Experience
Over the years, I’ve picked up several tips that make this cooking method more efficient. Here are some insights I’d like to share.
Choosing the Right Firewood
- I select wood that burns evenly and produces a steady bed of coals.
- Hardwoods, such as oak or hickory, are my preferred choices because they burn longer and hotter.
Managing Rock Sizes
- Using a mix of rock sizes can create different heat zones.
- Larger rocks retain heat longer while smaller ones heat up quickly.
- Arrange them in a way that suits your cooking needs.
- This allows you to have both searing and warming zones in your setup.
Timing is Crucial
- Allow sufficient time for the rocks to heat up properly.
- I always wait until I’m sure the rocks are uniformly hot before using them for cooking.
- Improper timing can result in unevenly cooked food.
- Take your time and ensure you’re ready before beginning to cook.
Clean-Up and Maintenance
- After cooking, clean your rocks with water once they have cooled.
- This helps remove any food residue and extends their life.
- Store them in a dry place.
- Proper maintenance ensures that you can use them safely on future trips.
Final Thoughts about Cook Using Rocks and Hot Coals
Cooking with rocks and hot coals is a rewarding experience that brings you closer to nature. It’s a skill that takes practice, but once you’ve learn it, you’ll be able to cook delicious meals anywhere, anytime.
Tips for Success
- Safety First: Always wear heat-resistant gloves when handling hot rocks.
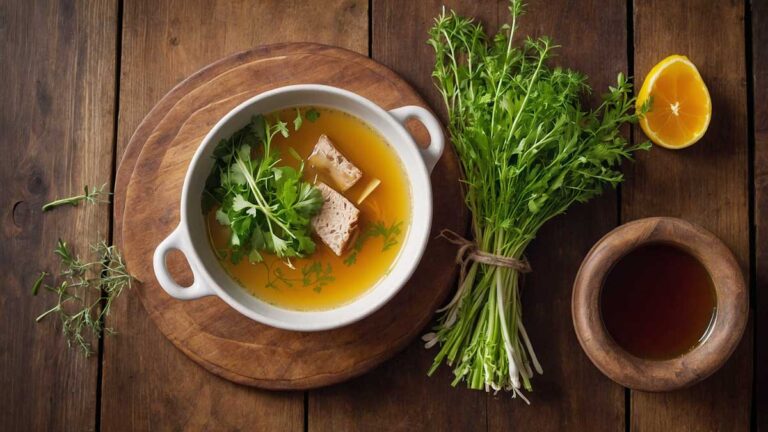
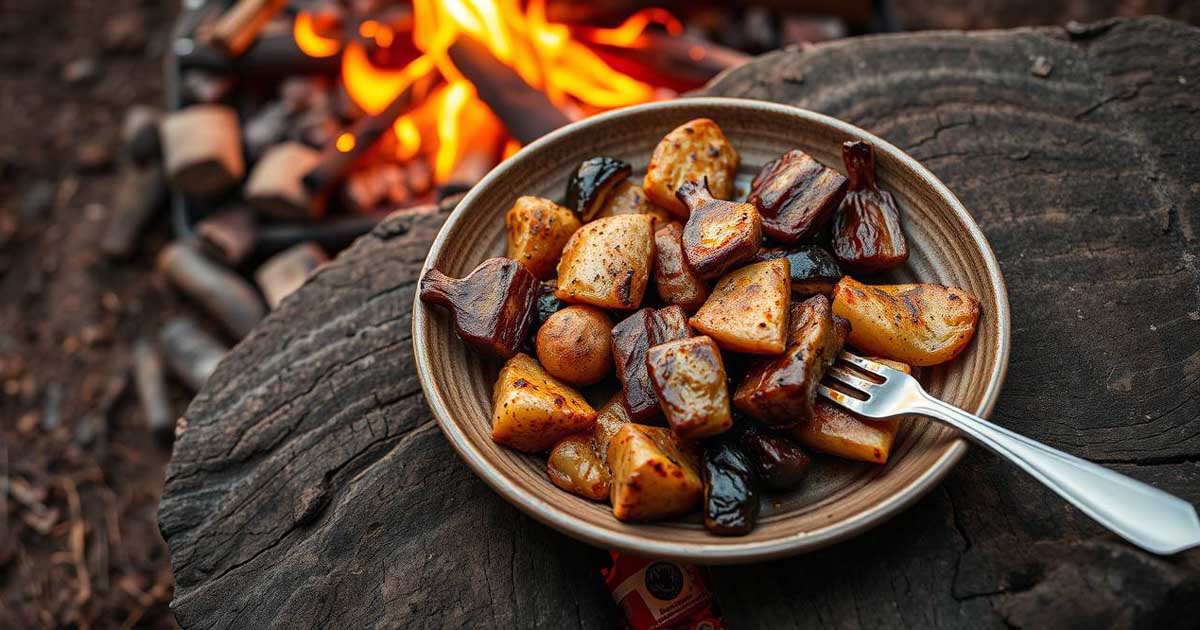
- Keep It Simple: Start with easy recipes like foil-wrapped vegetables or grilled fish.
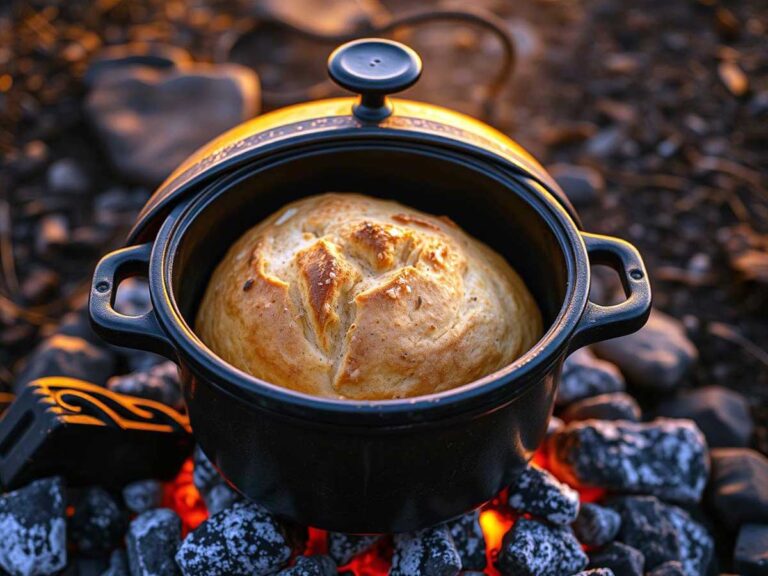
- Experiment: Once you’re comfortable, try more advanced techniques like baking bread or cooking stews.
- Clean Up: After cooking, let the rocks cool completely before disposing of them properly.
I hope this guide has given you the confidence to try this method on your next camping trip. Happy cooking!