Bushcraft Fire-Starting Techniques: A Guide for Every Camper
Fire is one of the most essential elements of bushcraft and camping. Whether you need it for warmth, cooking,…
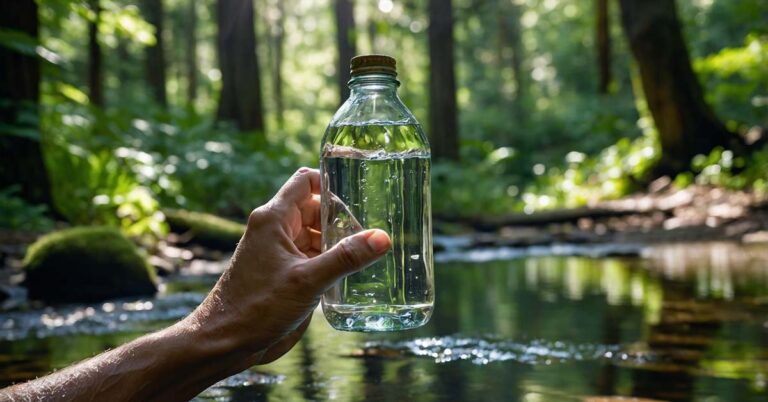
Fire is one of the most essential elements of bushcraft and camping. Whether you need it for warmth, cooking, purifying water, or signaling for help, knowing how to start a fire is a skill every outdoor enthusiast should master. In this guide, I’ll walk you through the most effective bushcraft fire-starting techniques, the tools you’ll need, and how to stay safe while doing it. By the end of this article, you’ll feel confident in your ability to start a fire in almost any situation.
Contents Include
- 1 Why Fire-Starting Skills Are Essential for Campers
- 2 Essential Tools for Bushcraft Fire-Starting
- 3 Preparing Your Fire Site
- 4 Step-by-Step Bushcraft Fire-Starting Techniques
- 5 Tips for Starting a Fire in Challenging Conditions
- 6 Safety Tips for Bushcraft Fires
- 7 Last Words for Bushcraft Fire-Starting Techniques
Why Fire-Starting Skills Are Essential for Campers
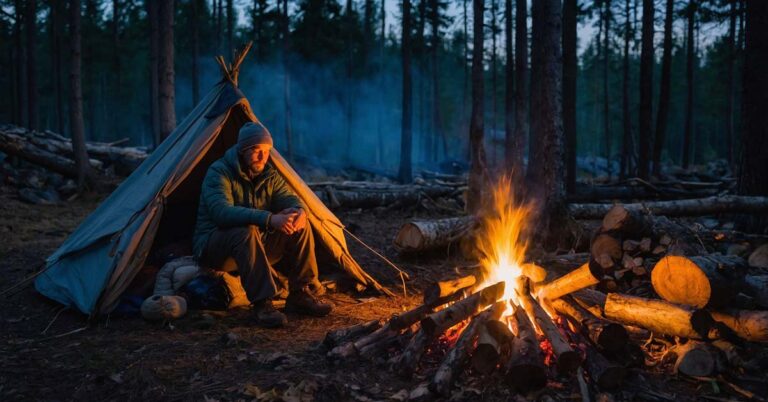
Fire is more than just a convenience in the wilderness—it’s a lifeline. In survival situations, fire can mean the difference between life and death. It provides warmth in cold weather, cooks food, purifies water, and can even signal for rescue. Beyond its practical uses, fire also offers psychological comfort. The ability to start a fire builds confidence and self-reliance, which are crucial when you’re out in the wild.
For campers, fire is a central part of the experience. It’s where stories are shared, meals are cooked, and memories are made. But to enjoy these benefits, you need to know how to start a fire reliably, even in challenging conditions.
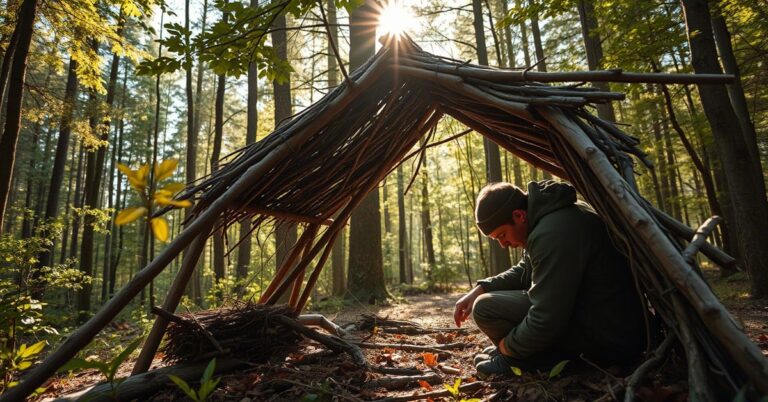
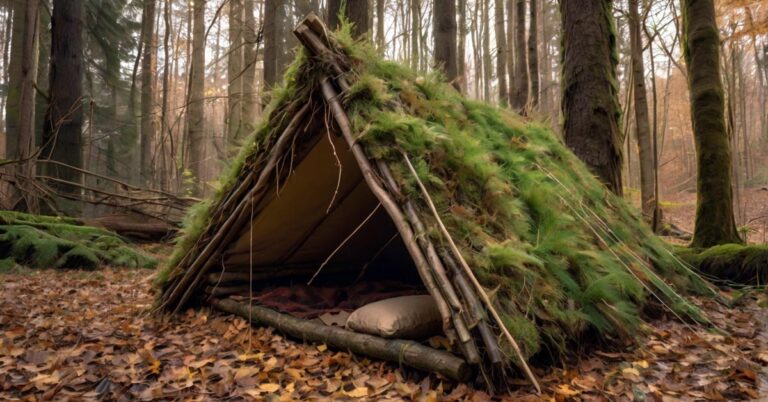
Also see: Stay Warm in Bushcraft Camping | Build a Bushcraft Shelter
Essential Tools for Bushcraft Fire-Starting
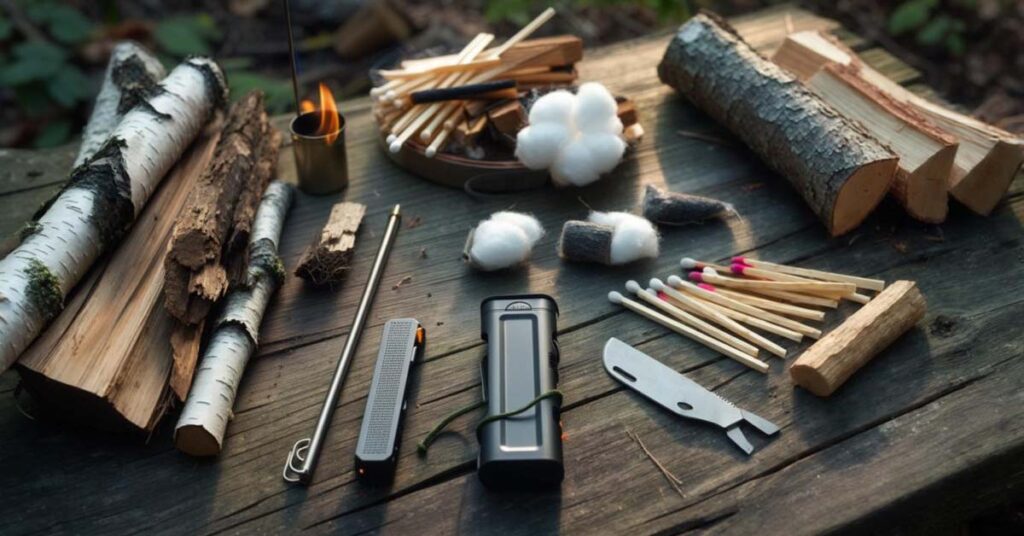
Before you can start a fire, you need the right tools. Here are the most common and effective fire-starting tools used in bushcraft:
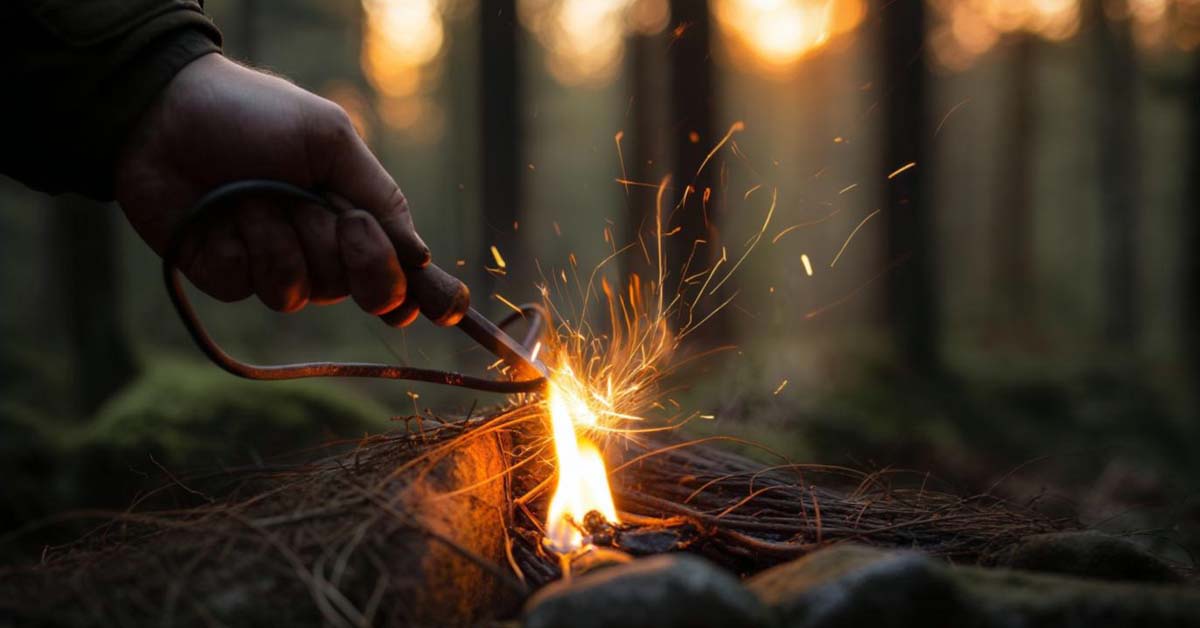
- Ferro Rod (Ferrocerium Rod): A ferro rod is a reliable and durable fire-starting tool. It produces hot sparks when scraped with a metal striker, making it ideal for igniting tinder. It works in almost any weather condition, which is why it’s a favorite among campers.
- Waterproof Matches: These are regular matches coated with a waterproof material. They’re a good backup option, especially in wet conditions. Store them in a waterproof container to keep them dry.
- Lighters: A stormproof lighter is a convenient and quick way to start a fire. While not as durable as a ferro rod, it’s easy to use and works well in most situations.
- Flint and Steel: This traditional method involves striking a piece of flint against steel to create sparks. It’s a reliable technique that has been used for centuries.
- Magnifying Glass: A magnifying glass can be used to focus sunlight onto tinder, creating enough heat to start a fire. This method only works on sunny days.
- Fire Piston: A fire piston uses rapid compression to ignite tinder. While not as common, it’s an interesting and effective tool for starting fires.
Each of these tools has its strengths and weaknesses. I recommend carrying at least two different fire-starting methods in case one fails.
Preparing Your Fire Site
Before you start a fire, you need to prepare the site properly. Here’s how to do it:
- Choose a Safe Location: Pick a spot that’s away from trees, bushes, and other flammable materials. Look for a flat, open area if possible.
- Clear the Area: Remove any leaves, twigs, or debris from the ground. This helps prevent the fire from spreading.
- Create a Fire Pit: Dig a shallow pit and surround it with rocks to contain the fire. This also helps reflect heat.
- Gather Fire Materials: You’ll need three types of materials:
- Tinder: Small, easily ignitable materials like dry grass, birch bark, or cotton balls.
- Kindling: Small sticks or twigs that catch fire easily.
- Fuelwood: Larger logs that sustain the fire once it’s burning.
- Follow Leave No Trace Principles: Always minimize your impact on the environment. Use existing fire rings if available, and make sure to fully extinguish your fire before leaving.
Step-by-Step Bushcraft Fire-Starting Techniques
Now, let’s dive into the actual techniques. I’ll explain each method in detail, so you can choose the one that works best for you.
1. Using a Ferro Rod
A ferro rod is my favorite tool for starting fires. It’s lightweight, durable, and works in almost any condition. Here’s how to use it:
- Gather Your Materials: Collect tinder, kindling, and firewood. Make sure everything is as dry as possible.
- Prepare the Tinder: Place your tinder in a small pile or nest shape.
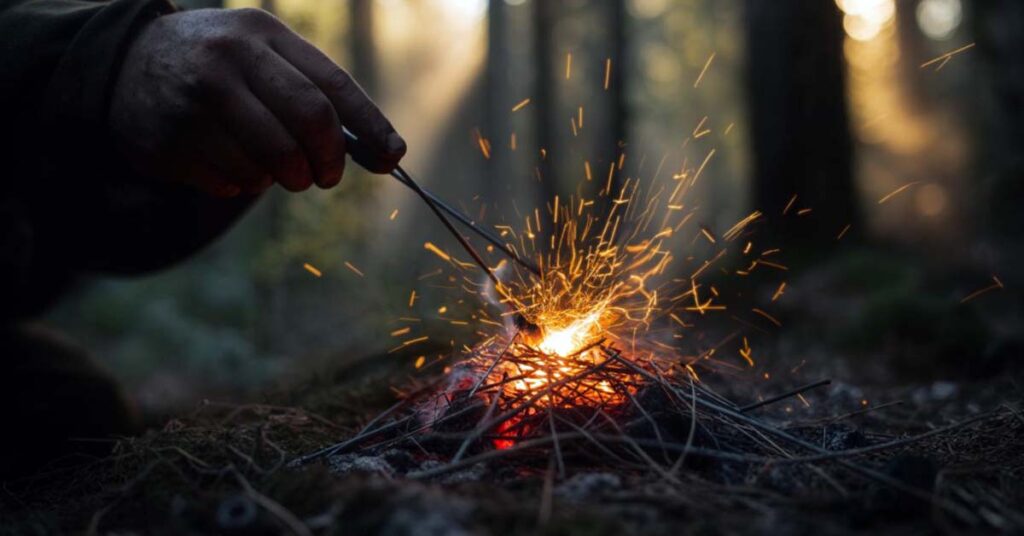
- Strike the Ferro Rod: Hold the rod close to the tinder and scrape it with a metal striker or knife. Aim the sparks directly at the tinder.
- Nurture the Flame: Once the tinder catches fire, gently blow on it to encourage the flames. Add kindling and firewood gradually.
Practice striking the ferro rod at home to get comfortable with the technique.

2. Using Flint and Steel
Flint and steel is a classic method that’s been used for centuries. It’s reliable but requires a bit more practice. Here’s how to do it:
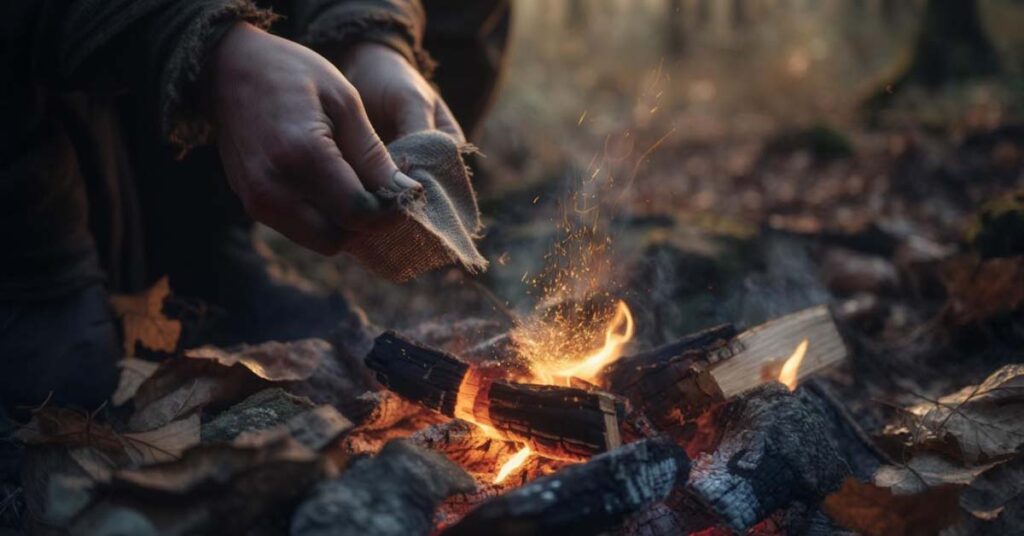
- Prepare Your Tinder: Use highly flammable materials like char cloth or birch bark.
- Strike the Flint: Hold the steel striker against the flint and strike downward to create sparks.
- Catch the Sparks: Direct the sparks onto the tinder until it ignites.
- Build the Fire: Add kindling and firewood to grow the flame.
This method is great for traditionalists and those who enjoy a hands-on approach.
3. Using a Magnesium Fire Starter
A magnesium fire starter is another excellent option, especially in wet conditions. Here’s how to use it:
- Scrape Magnesium Shavings: Use a knife to scrape fine shavings from the magnesium block onto your tinder.
- Strike the Ferro Rod: The block usually has a ferro rod attached. Strike it to create sparks and ignite the magnesium shavings.
- Build the Fire: Once the shavings catch fire, add kindling and firewood.
This method is highly effective because magnesium burns hot and fast, even when wet.
4. Using a Fire Plough
The fire plough is a primitive technique that uses friction to create an ember. Here’s how it works:
- Find a Softwood Base: Use a piece of softwood like cedar or pine.
- Create a Groove: Carve a groove into the base using a stick or knife.
- Plough the Stick: Rub a hardwood stick back and forth in the groove to create friction and heat.
- Collect the Ember: Once an ember forms, transfer it to your tinder bundle and blow gently to ignite the flame.
This method requires patience and practice but is incredibly rewarding.
5. Using a Bow Drill
The bow drill is another friction-based method that’s more efficient than the fire plough. Here’s how to do it:
- Gather Materials: You’ll need a bow, spindle, fireboard, and handhold.
- Set Up the Drill: Place the spindle on the fireboard and use the bow to rotate it rapidly.
- Create an Ember: The friction will generate an ember, which you can transfer to your tinder.
- Ignite the Flame: Blow gently on the ember to start the fire.
This method is advanced but highly effective once learned.
Modern Methods: Lighters and Waterproof Matches
Lighters and waterproof matches are convenient and easy to use. Here’s how:
- Light the tinder directly with the lighter or match.
- Gradually add kindling and fuelwood to build the fire.
Tips:
- Keep matches and lighters in a waterproof container.
- Use stormproof lighters for added reliability.
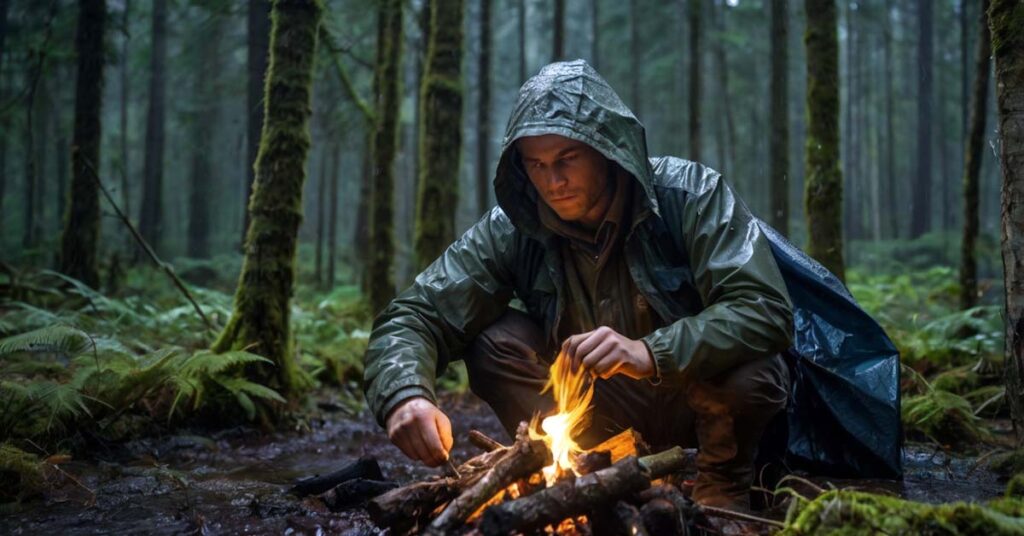
Tips for Starting a Fire in Challenging Conditions
Starting a fire in wet or windy conditions can be tricky. Here are some tips to help you succeed:
- Use Dry Tinder: Look for dry materials under logs or tree bark.
- Build a Windbreak: Use rocks or logs to shield your fire from the wind.
- Elevate Your Fire: Place your tinder on a dry surface or use a platform of sticks to keep it off wet ground.
- Carry Waterproof Fire Starters: Always have waterproof matches or a ferro rod in your kit.
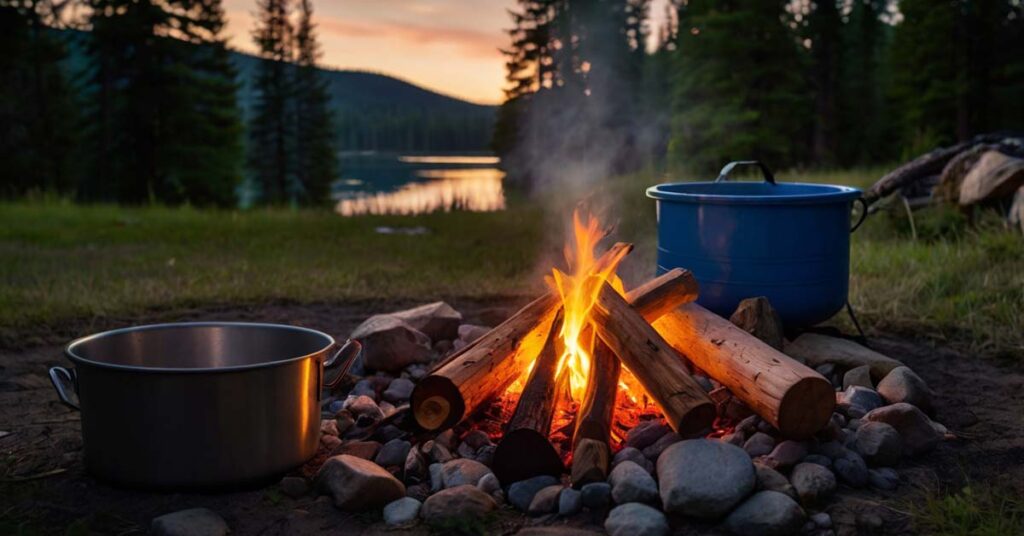
Safety Tips for Bushcraft Fires
Safety should always be your top priority when starting a fire. Here are some key tips:
- Choose a Safe Location: Clear the area of dry leaves and debris.
- Keep Water Nearby: Have a bucket of water or sand to extinguish the fire if needed.
- Never Leave the Fire Unattended: Always supervise the fire until it’s completely out.
- Follow Local Regulations: Check if fires are allowed in your camping area.
Last Words for Bushcraft Fire-Starting Techniques
Learning bushcraft fire-starting techniques is a valuable skill for any camper. Whether you’re using a ferro rod, flint and steel, or a bow drill, practice is key. With the right tools, knowledge, and preparation, you can start a fire in almost any condition. I hope this guide helps you feel more confident and prepared for your next camping adventure.
If you found this article helpful, feel free to share it with your fellow campers. And don’t forget to check out more tips and guides on OutdoorTrekz.com. Happy camping!